Deploying a Data App with Streamlit
Below you will find the step-by-step process for using the template provided by our team to deploy Data Apps with Streamlit in the Intelligence module.
Prerequisites
- Have a Dadosfera user account.
- Have access to the Intelligence module.
- Have a project created in the Intelligence module.
Preparing the module environment for the Data App
In the ENVIRONMENTS tab, select the Python image and give your environment any name you want.
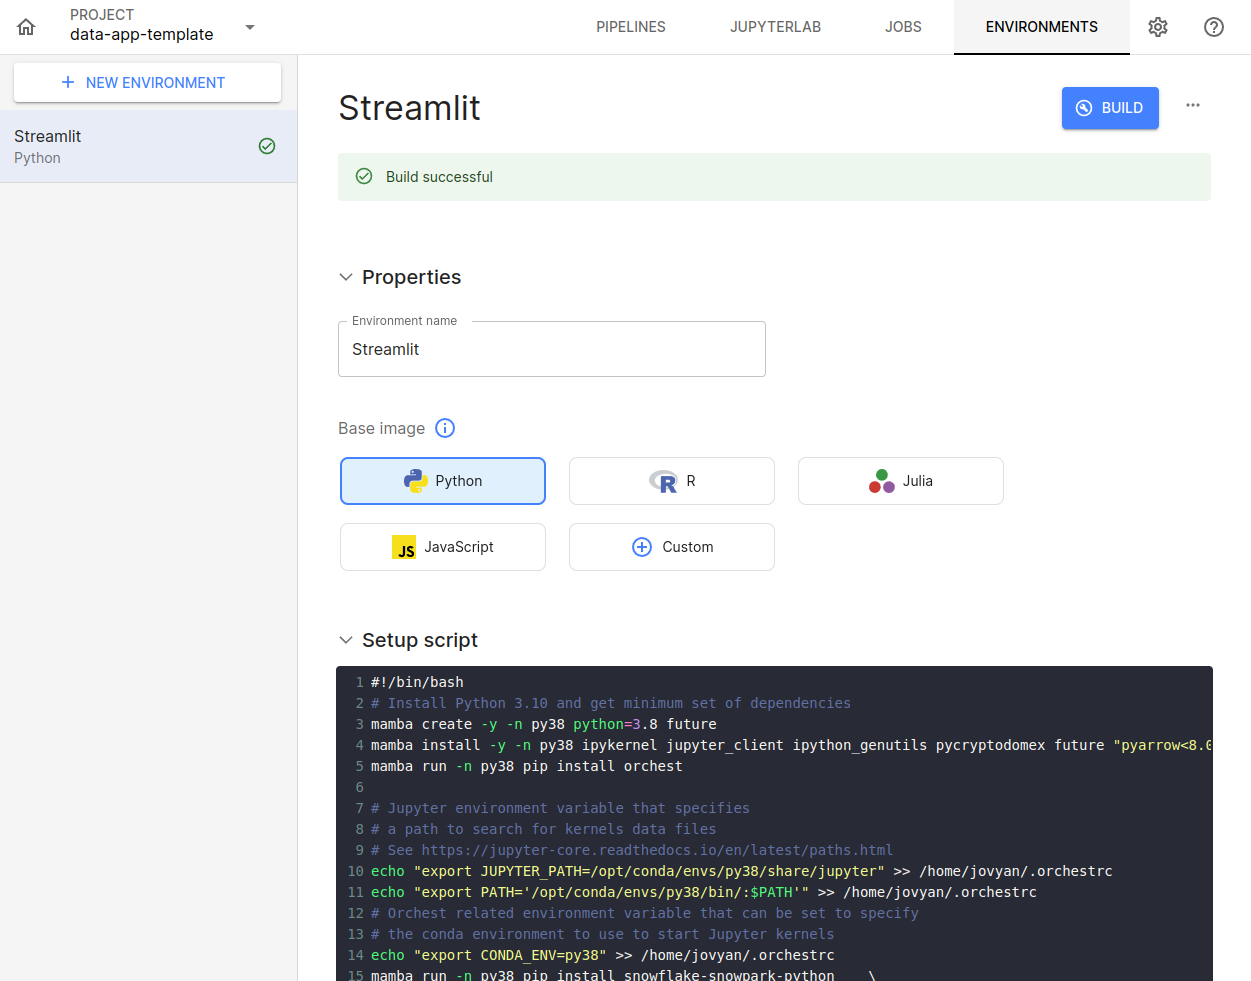
In the Setup script field, paste the following code:
#!/bin/bash
# Install Python 3.8 and get minimum set of dependencies
mamba create -y -n py38 python=3.8 future
mamba install -y -n py38 ipykernel jupyter_client ipython_genutils pycryptodomex future "pyarrow<8.0.0"
mamba run -n py38 pip install orchest

# Jupyter environment variable that specifies
# a path to search for kernels data files
# See https://jupyter-core.readthedocs.io/en/latest/paths.html
echo "export JUPYTER_PATH=/opt/conda/envs/py38/share/jupyter" >> /home/jovyan/.orchestrc
echo "export PATH='/opt/conda/envs/py38/bin/:$PATH'" >> /home/jovyan/.orchestrc

# Orchest related environment variable that can be set to specify
# the conda environment to use to start Jupyter kernels
echo "export CONDA_ENV=py38" >> /home/jovyan/.orchestrc
mamba run -n py38 pip install pandas snowflake-snowpark-python streamlit plotly
These are the baseline requirements for a Streamlit Data App project. If your project needs additional libraries, add them to this script.
Then click the build button to build the environment. The button is located in the upper-right corner of the interface.
To confirm the build ran successfully, you should see something similar to the image below:
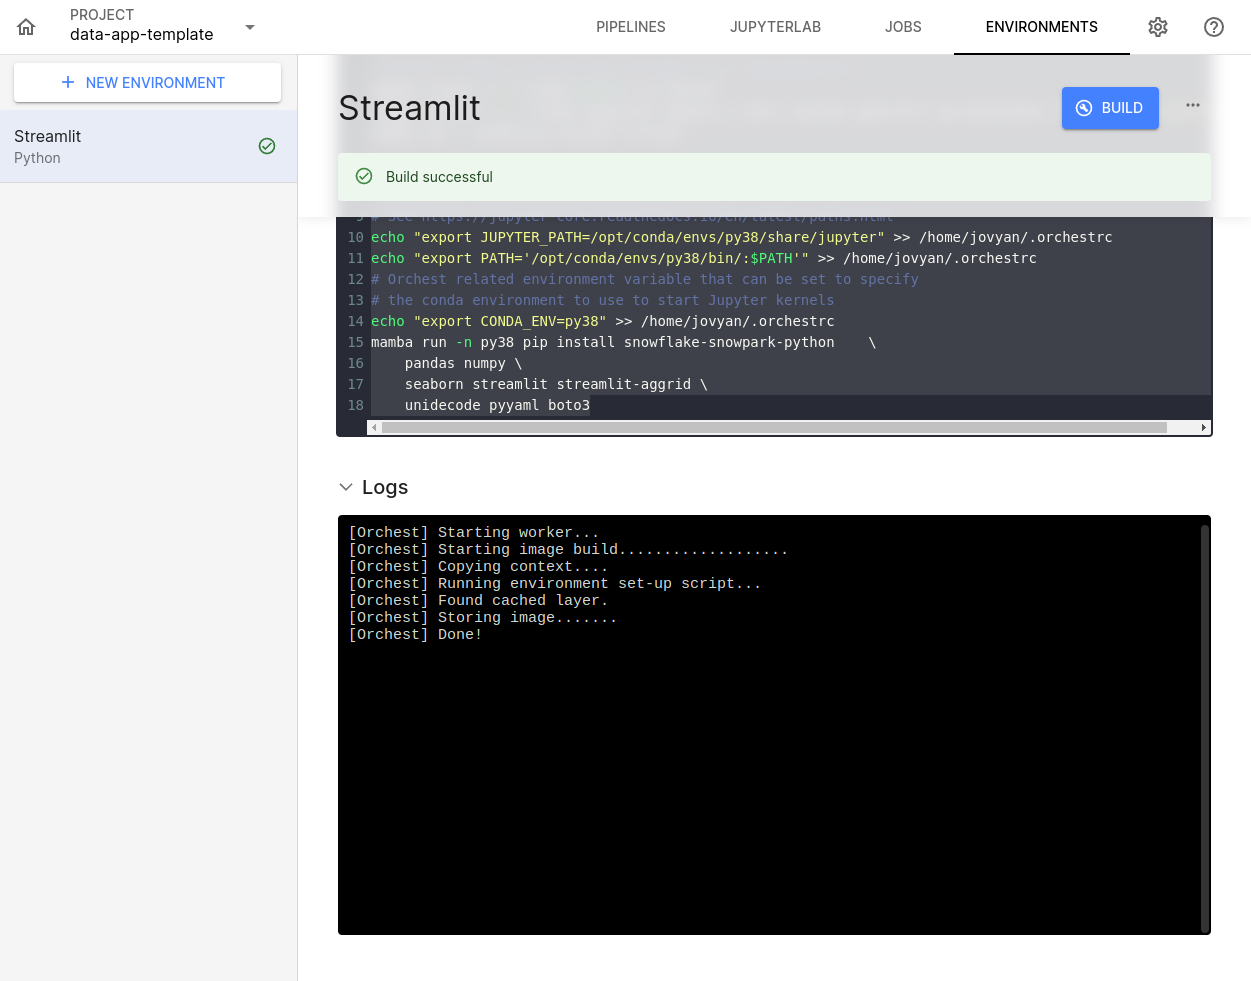
Once that is done, the environment is ready to run a Streamlit Data App.
Uploading the sample project
To download the sample project, click the format you prefer: .zip or .tar.gz.
Extract the downloaded file, select the app/ folder, and upload it to the module:
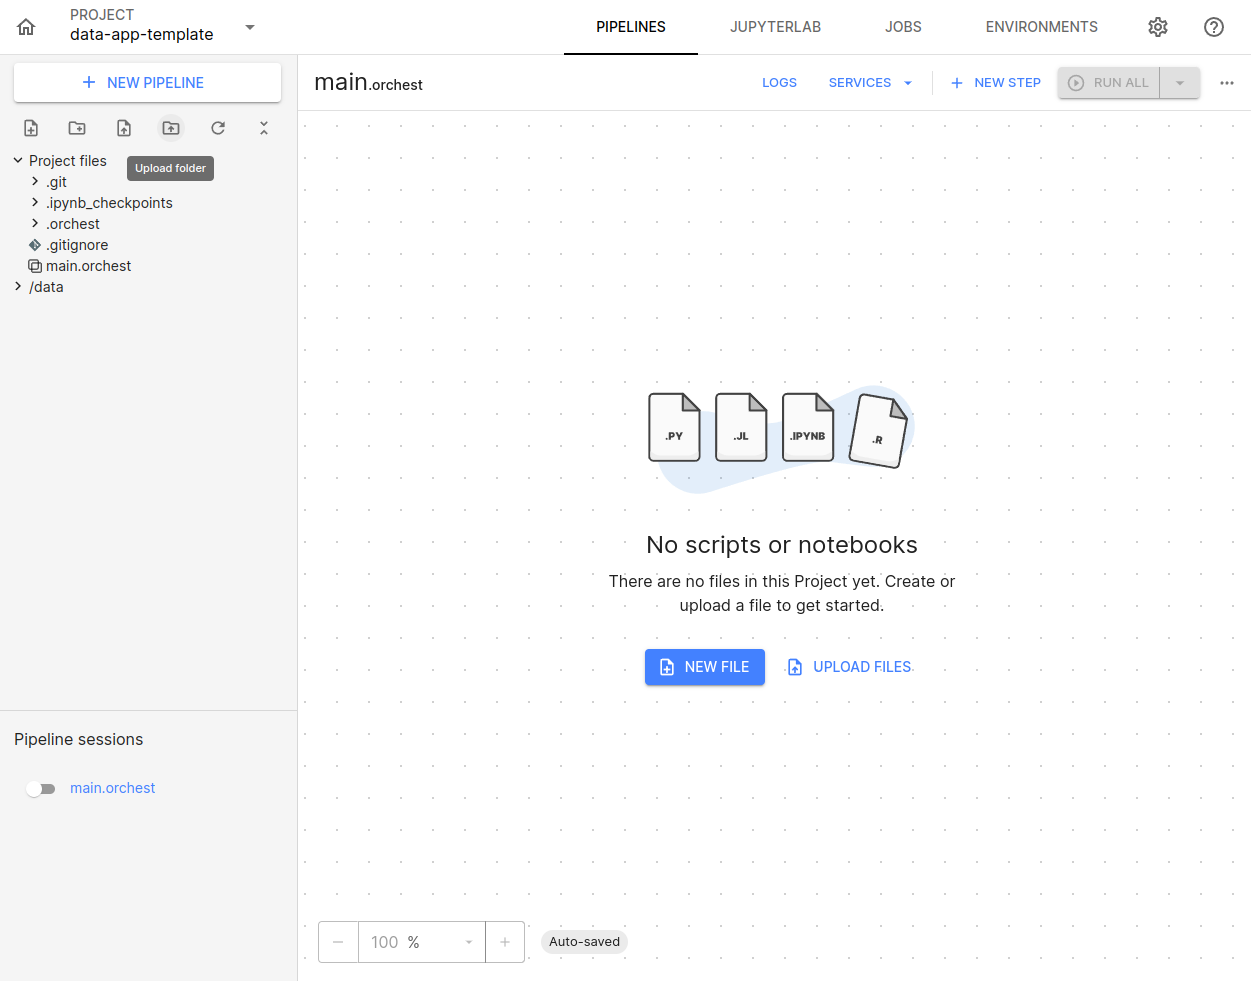
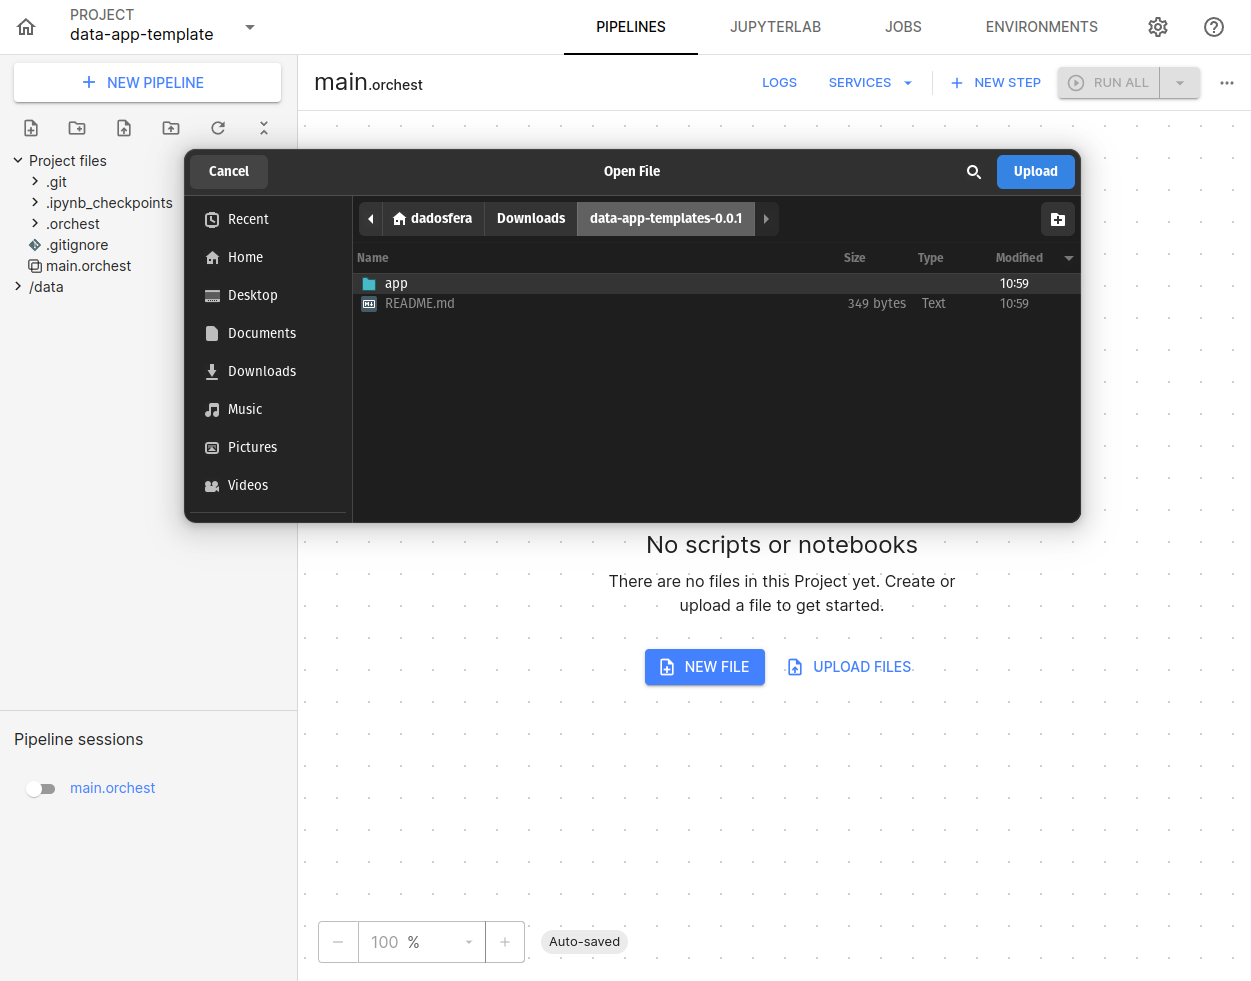
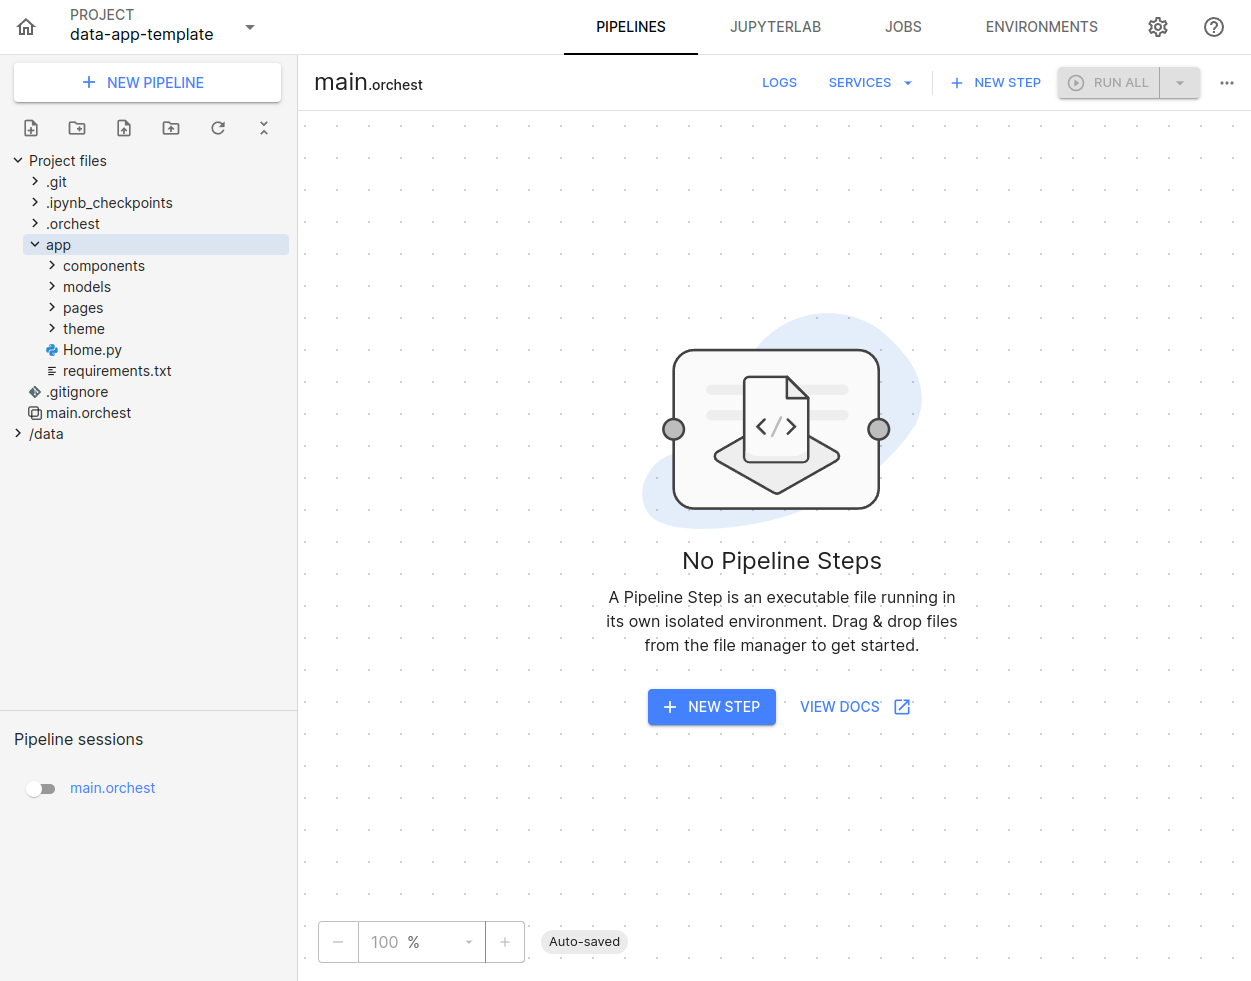
At this point, the project is ready to become a module service.
Creating a service for the project: Data Apps -> Edit Data Apps
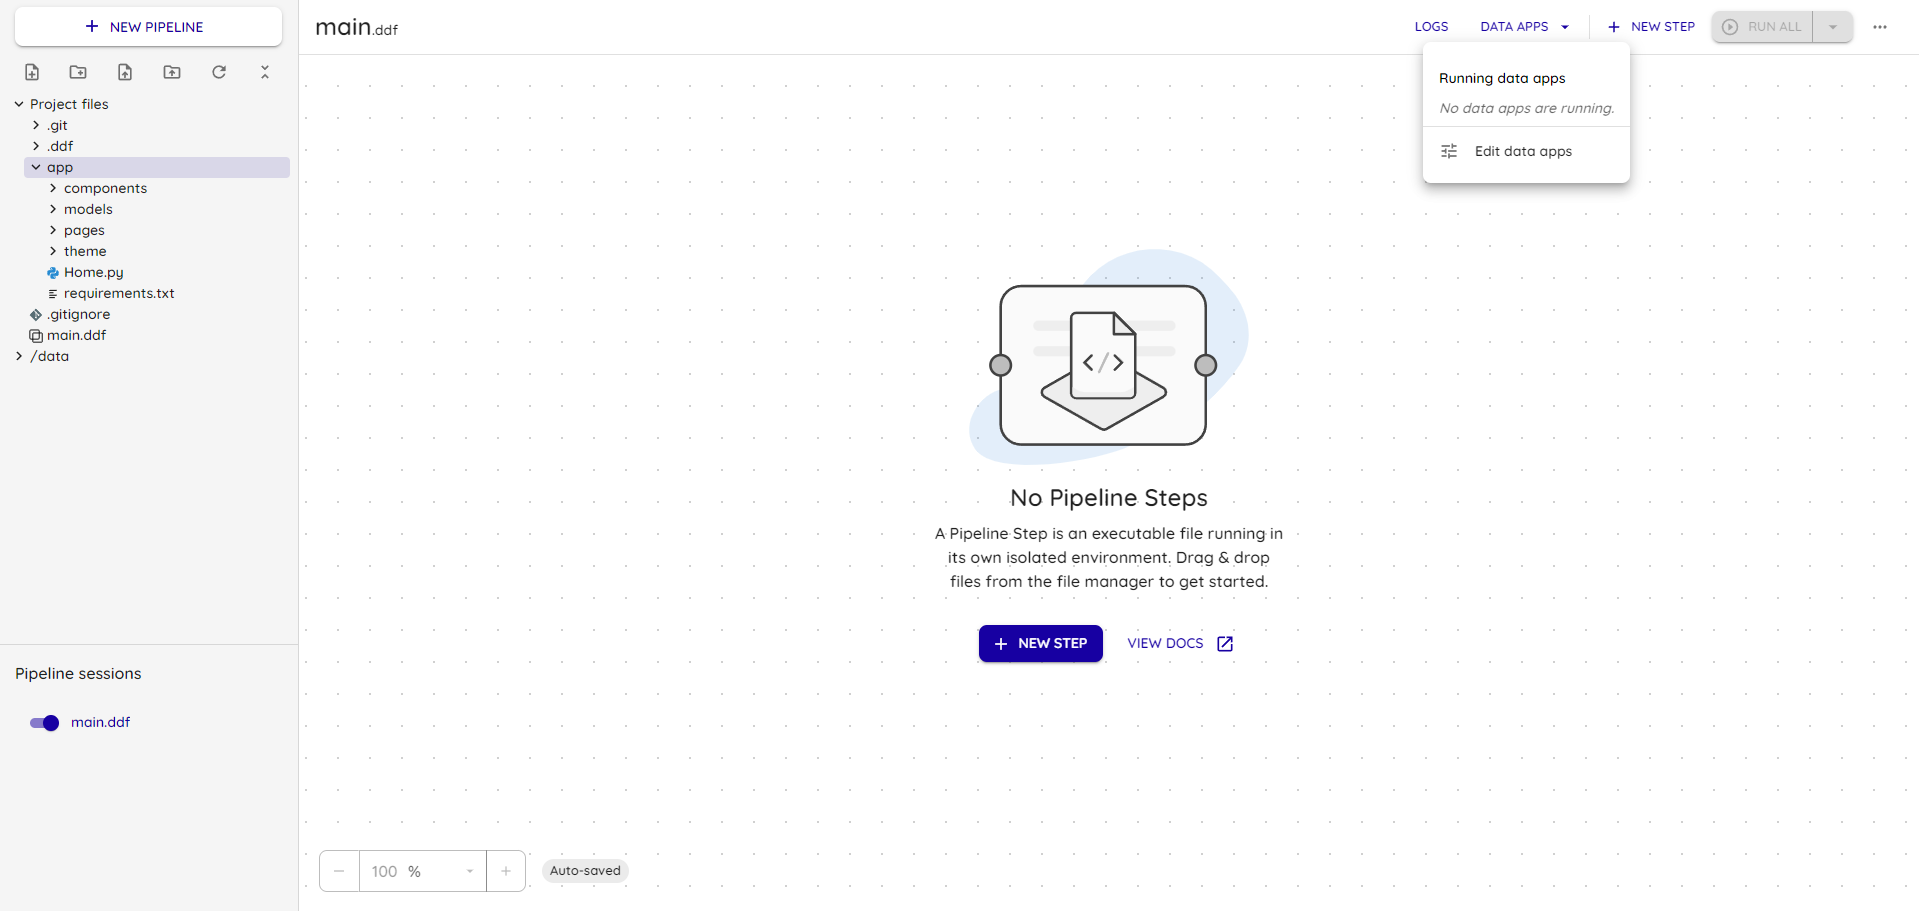
Add a new Streamlit service in Add Service:
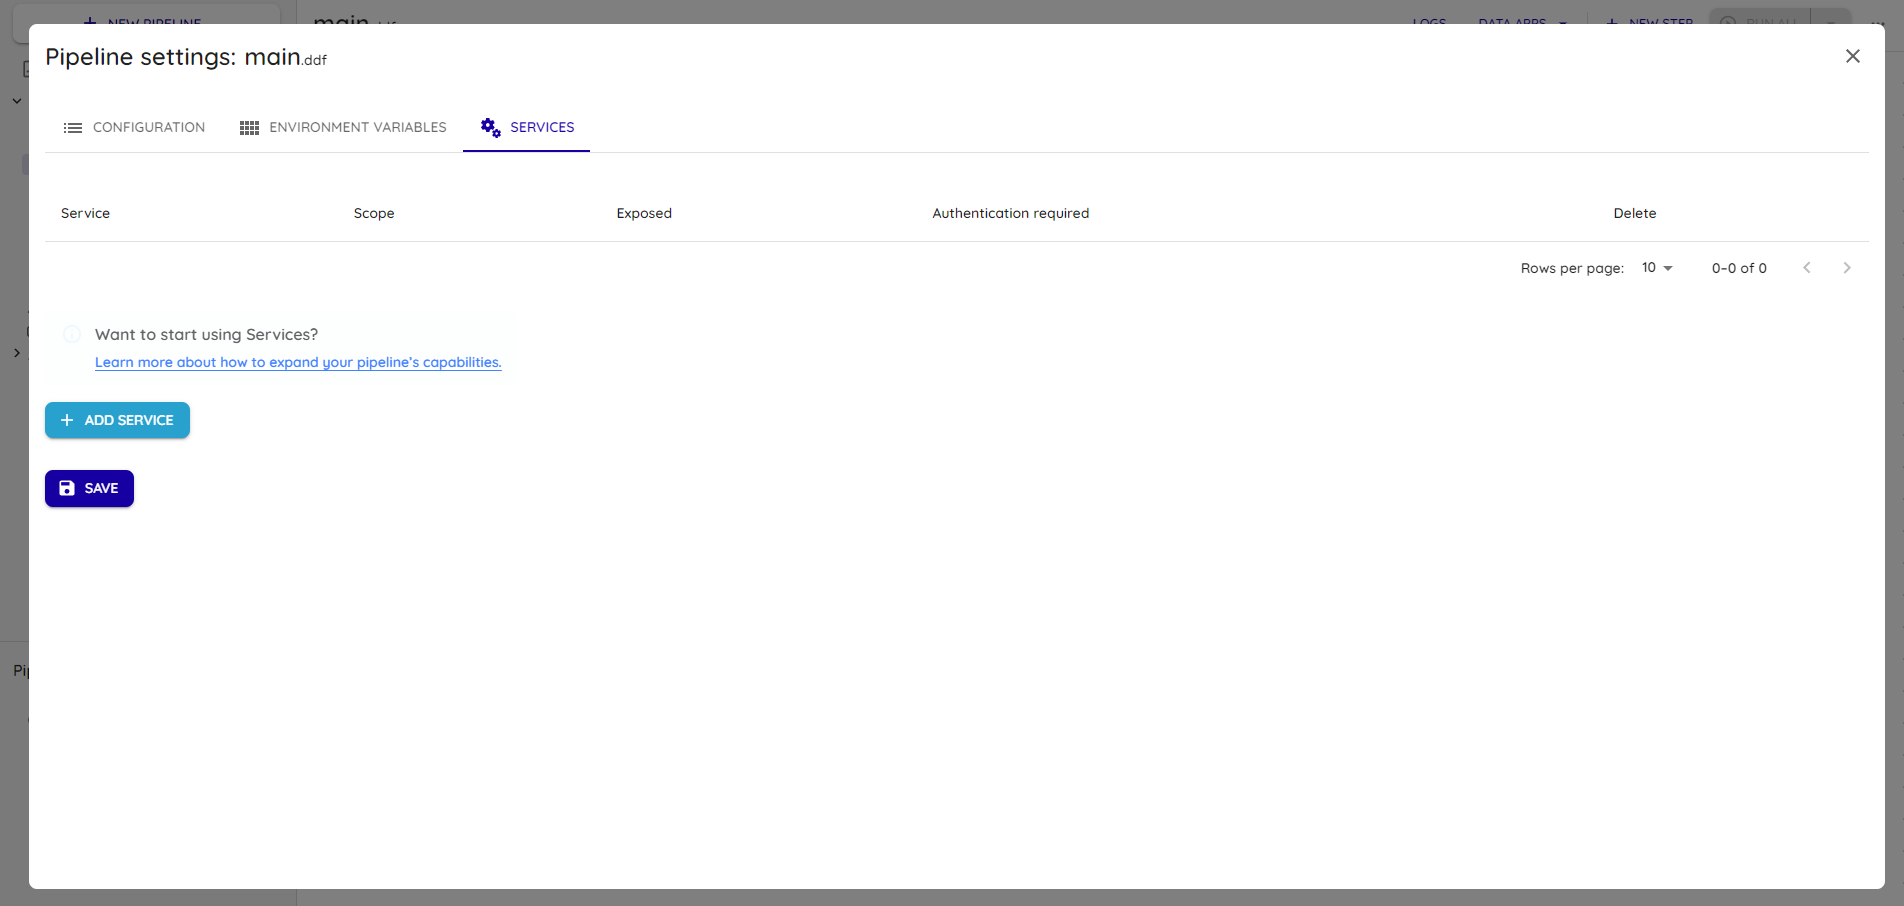
Select Streamlit and expand the newly created row named Streamlit.
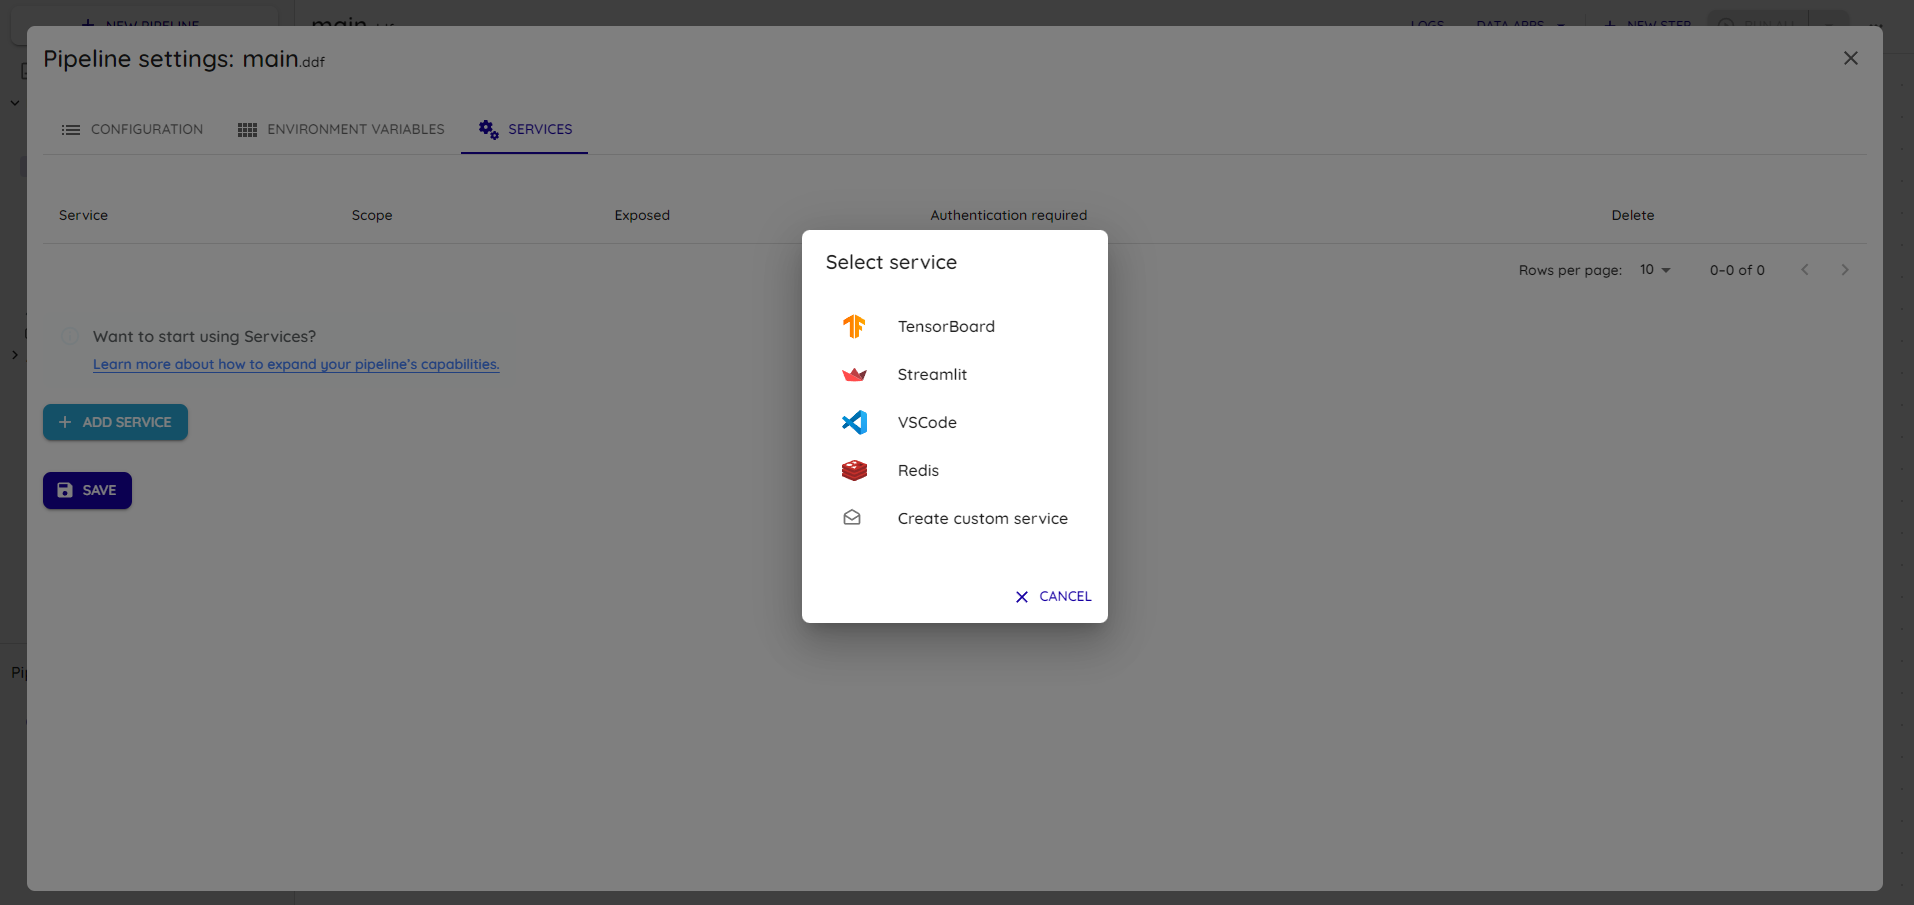
Click the Image field and select the environment image configured in the previous steps:
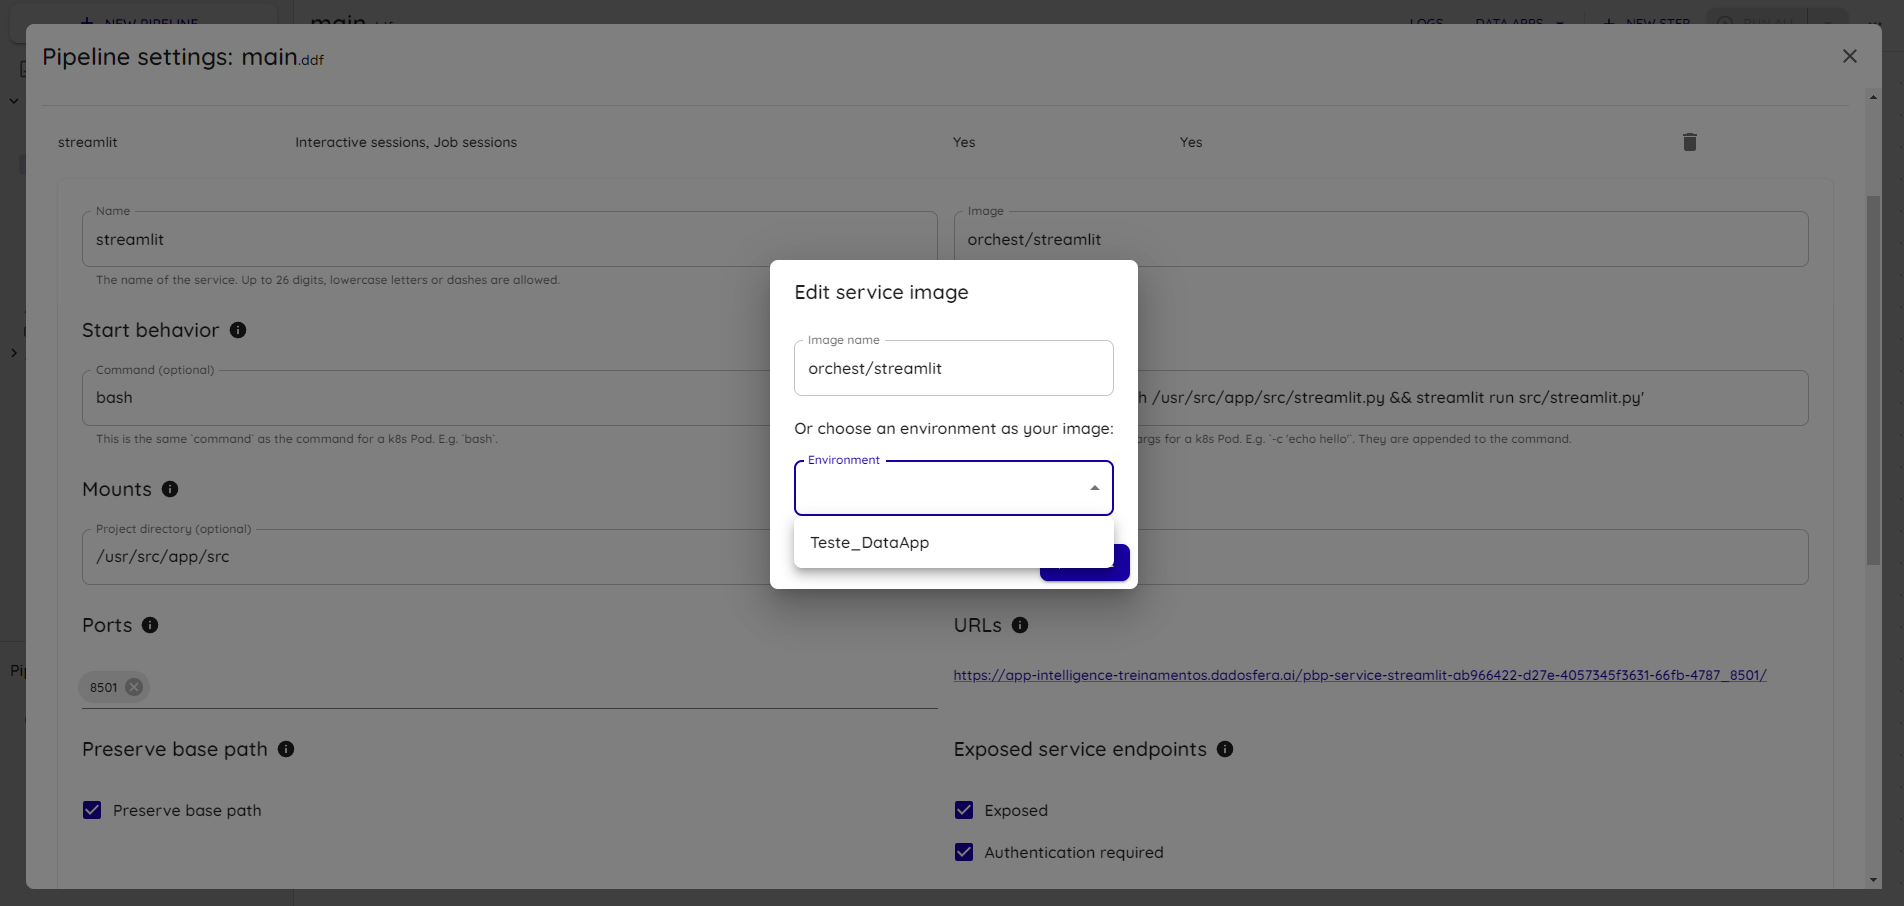
Configure the service with the following value:
Args: -c 'umask 002 && streamlit run app/Home.py'
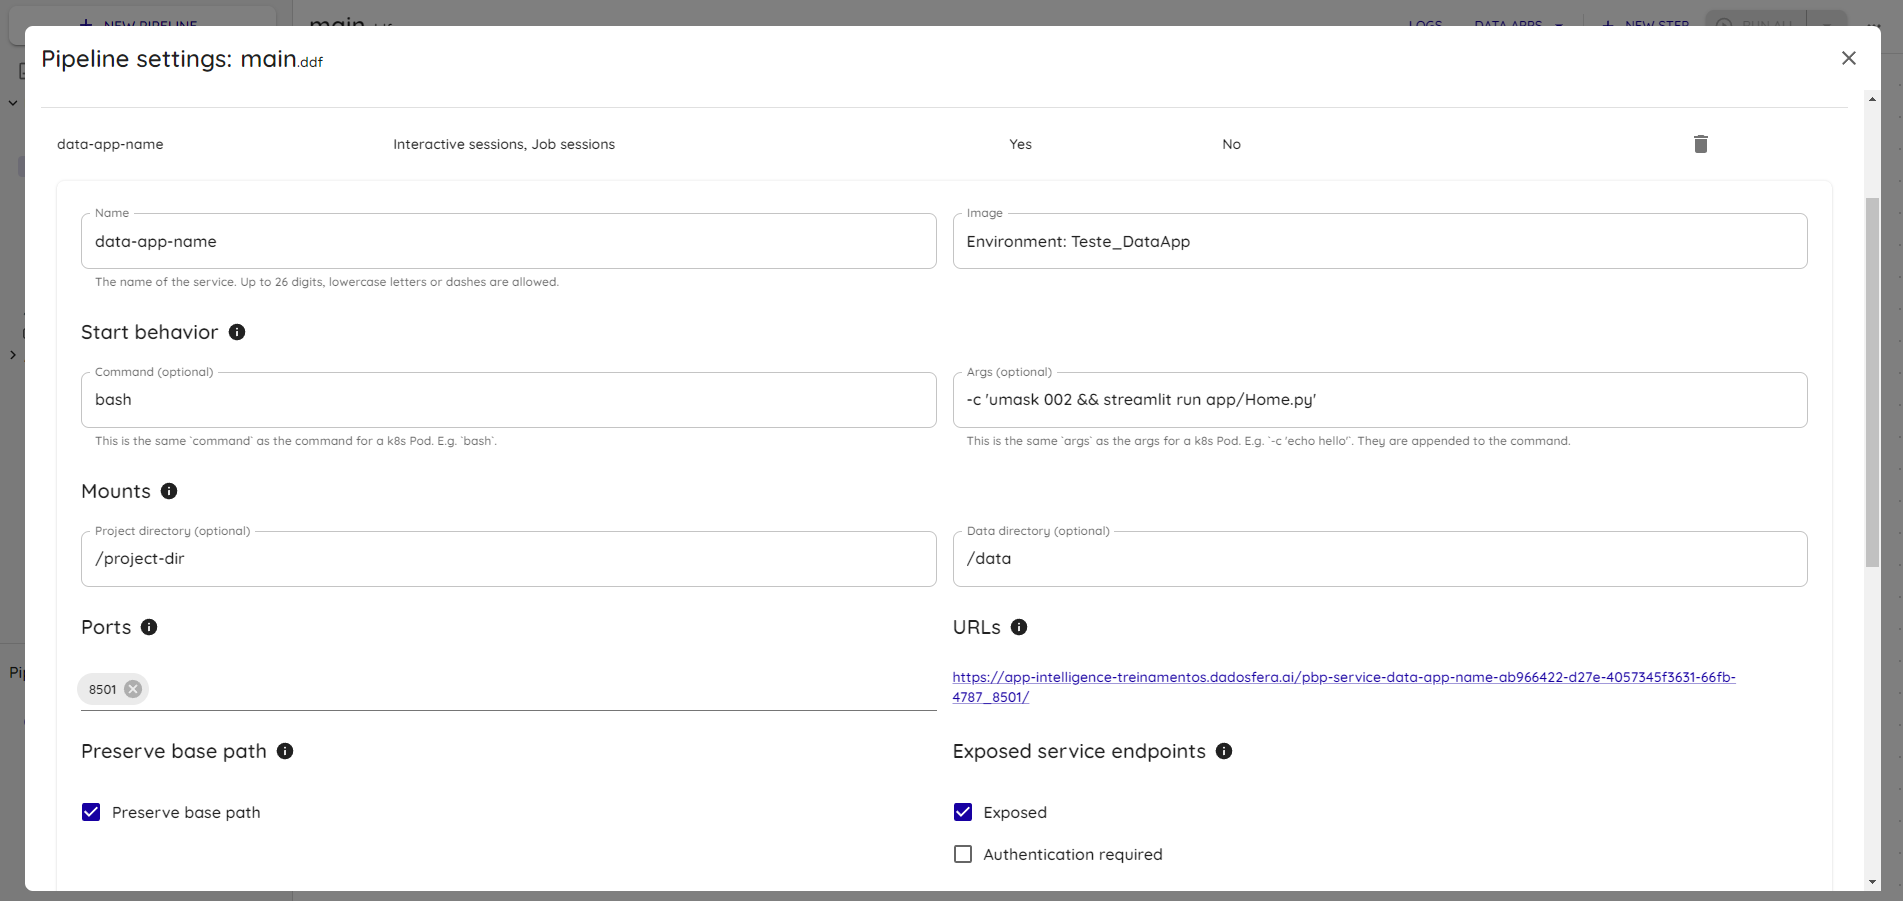
Save the changes.
Then go back to the pipeline page and restart the session, as shown in the lower-left corner under pipeline sessions (main.ddf):
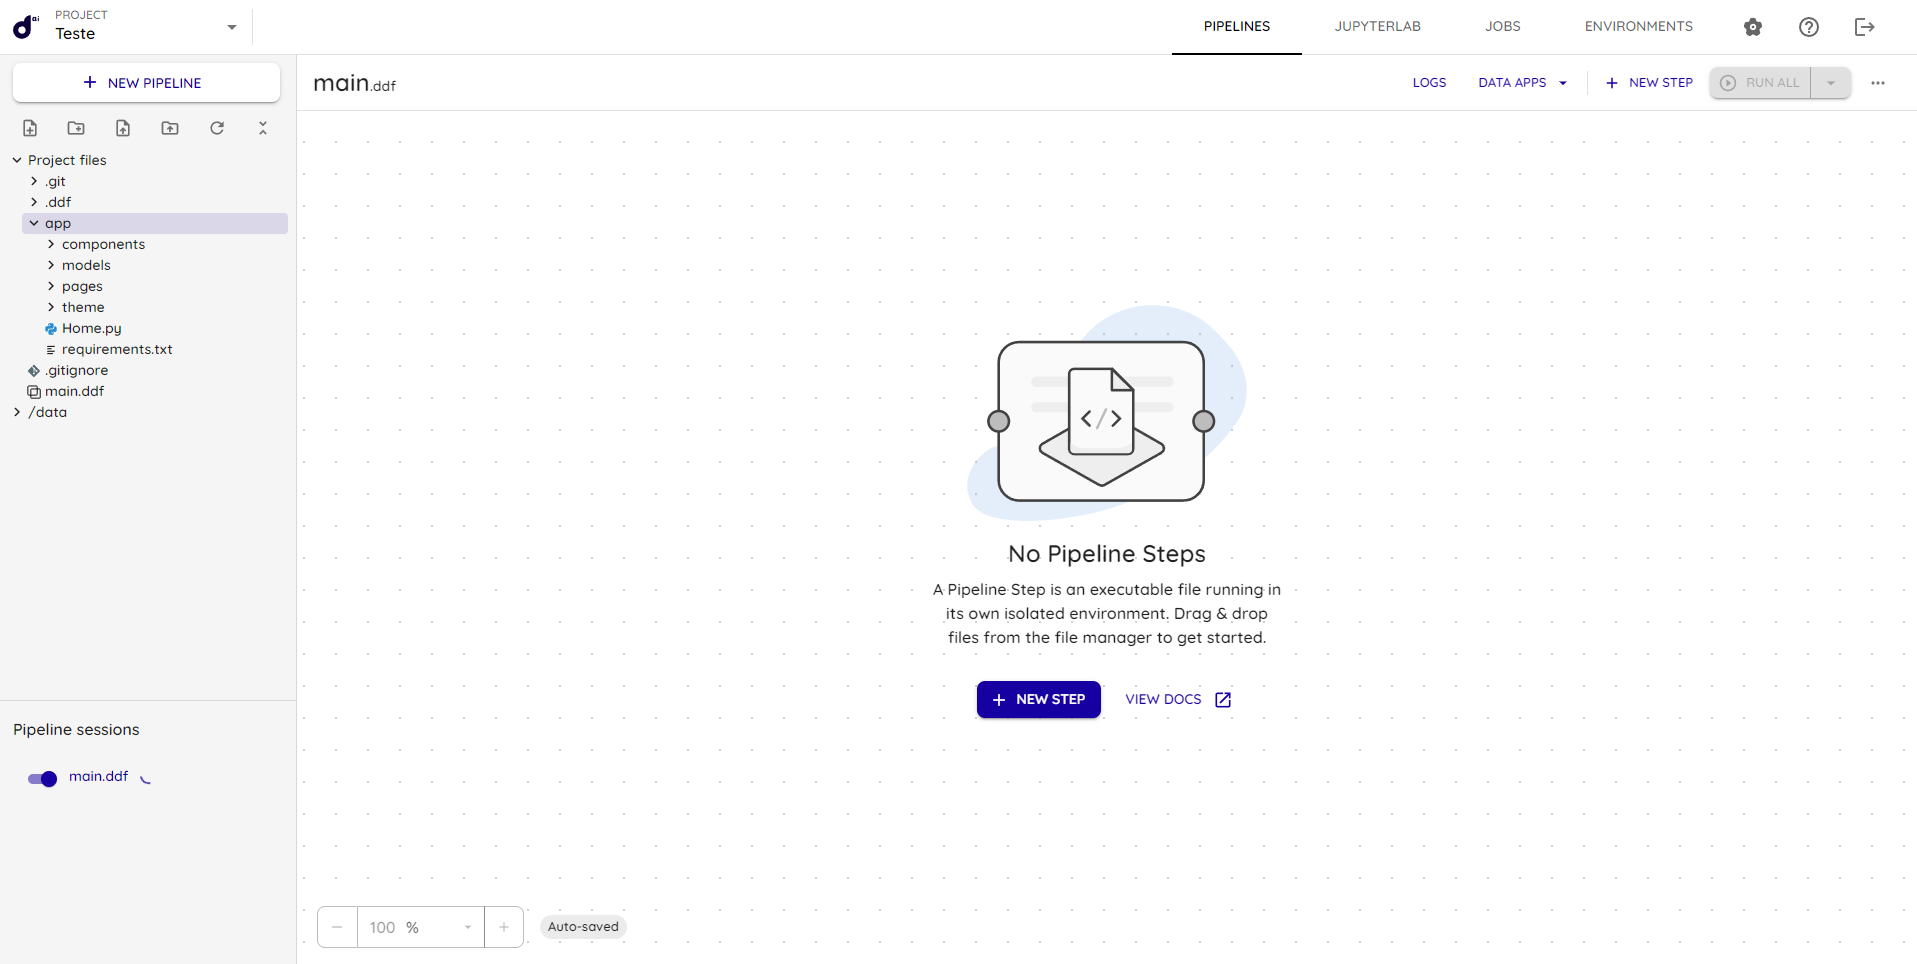
Accessing the service
In the SERVICES tab, select your Data App:
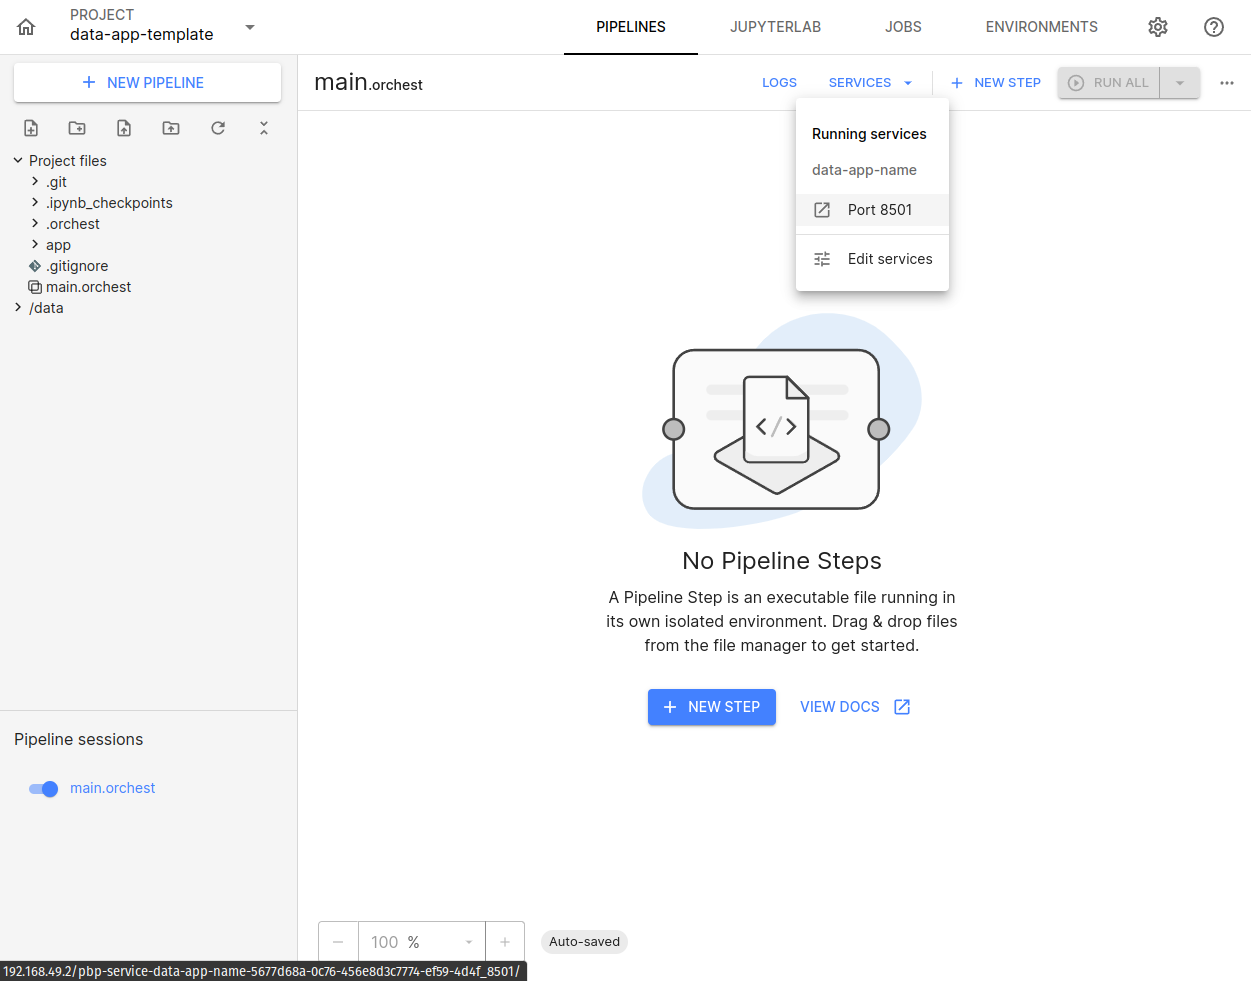
You will be redirected to the access link for your Data App, already loaded with the components provided by the template:
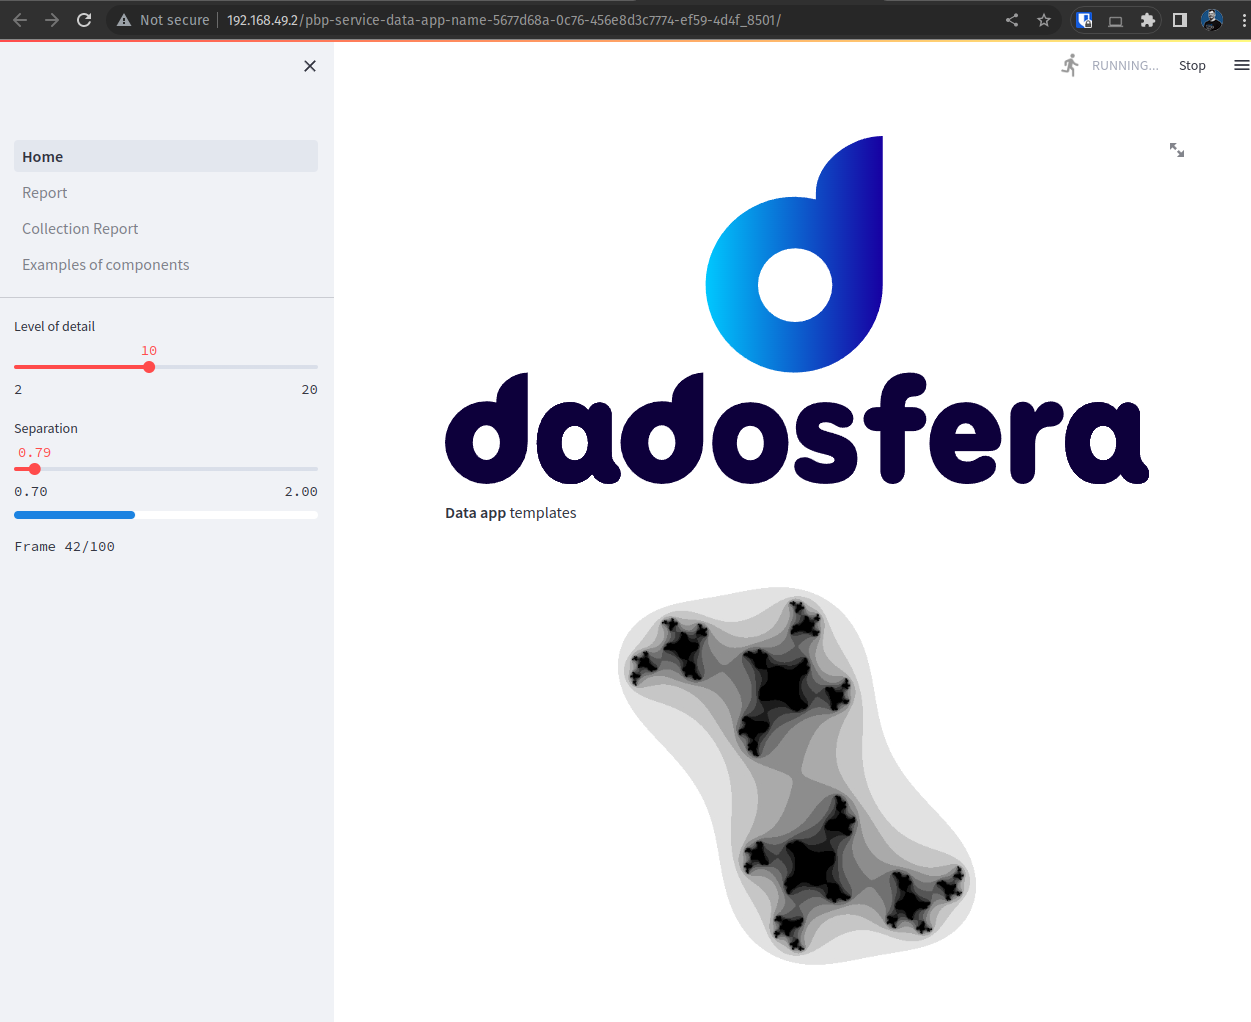
Keep in mind that changing the service name in its settings directly affects the custom URL. Because of that, we do not recommend renaming the service after it has already been created and shared with other users or applications.
Note
On the examples page, an error is intentionally displayed:
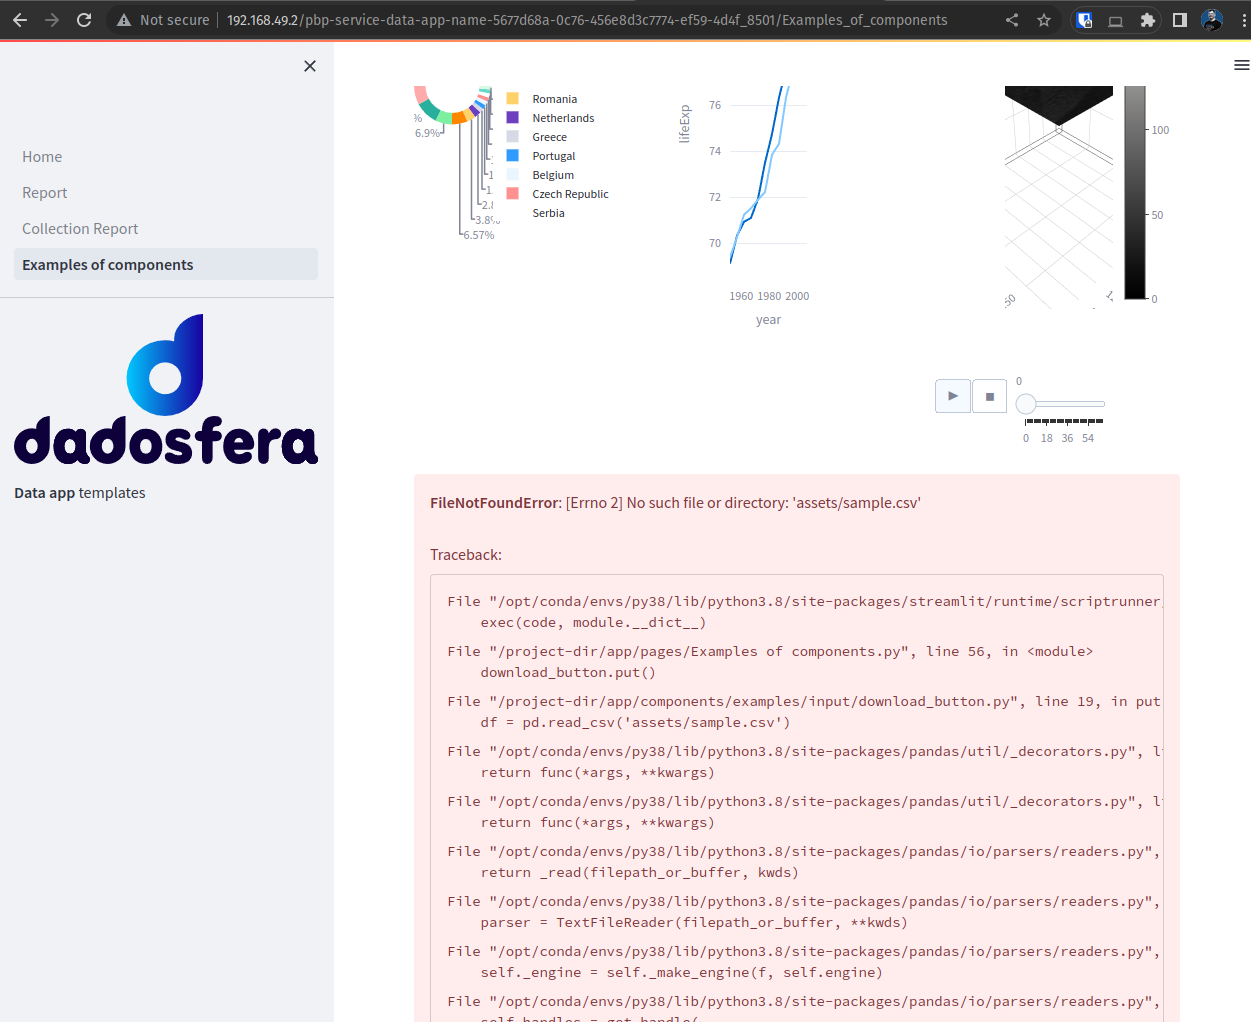
This was added on purpose so you can provide your own sample.csv file in the project folder and observe how the download button behaves, as shown below.
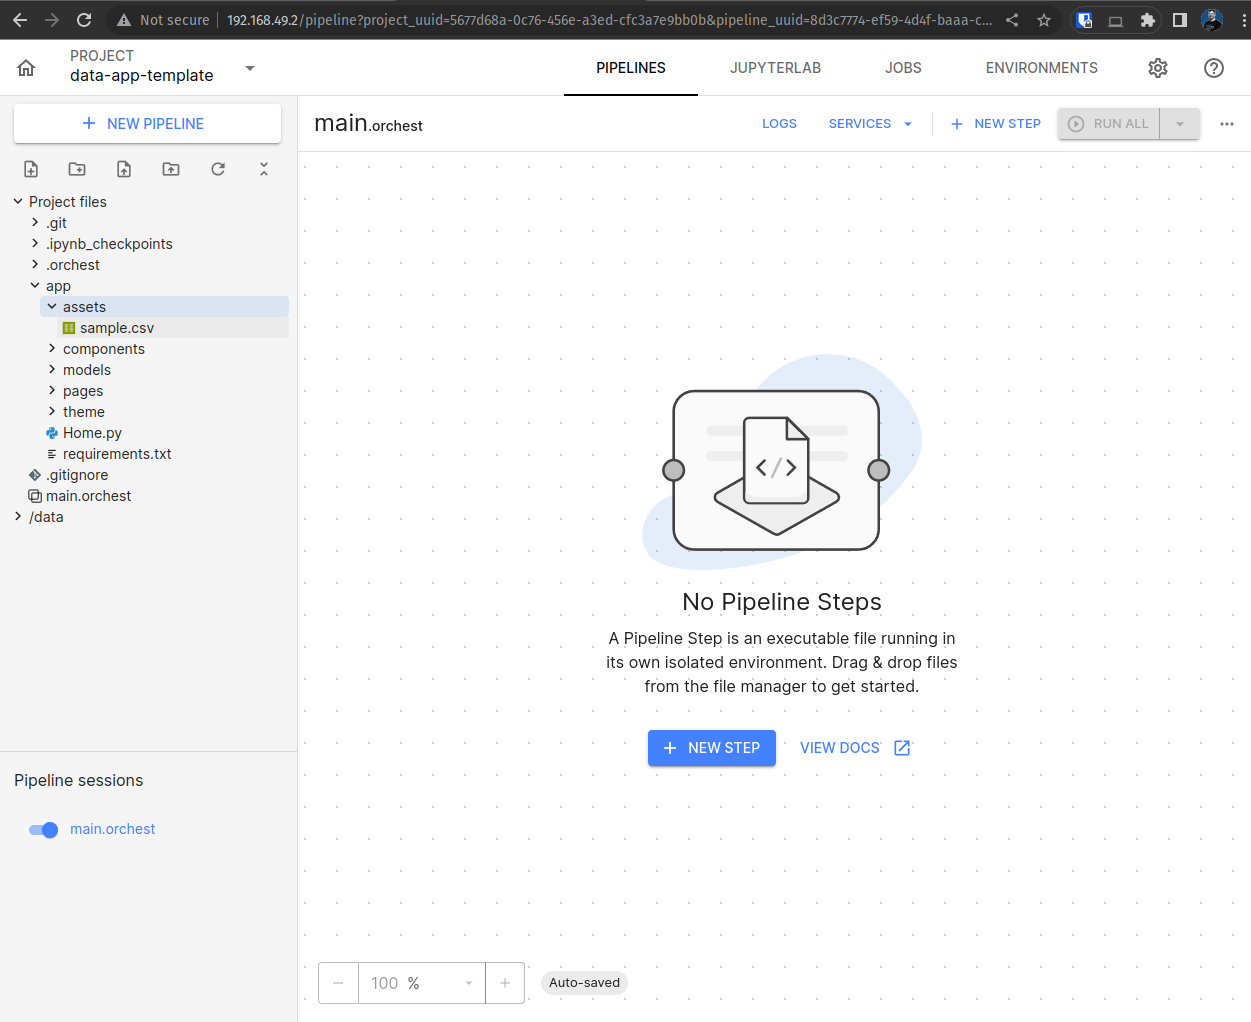
Once the template is available in your environment, you can edit the scripts directly through Jupyter according to your project needs. The project was designed for code reuse, so it is split into sample components, application components, and pages, and it also includes an entity model to simulate interaction with real data.
If you have any questions or suggestions, contact our team.