How to Connect Snowflake to Power BI Desktop
Select Snowflake in Power BI Desktop
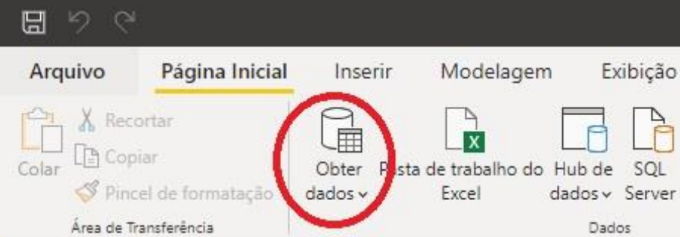
- In Power BI Desktop, click
Get Data.
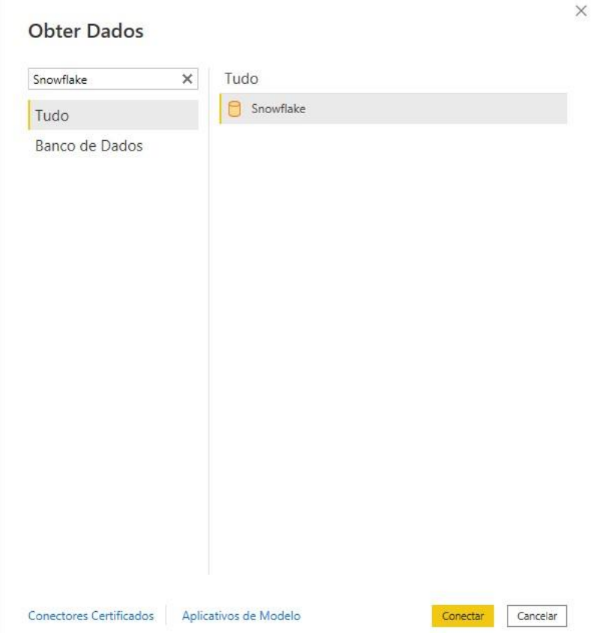
- Search for
Snowflakein the search bar, select the connector, and clickConnect.
Identify the server and warehouse
- Open Snowflake from the Dadosfera platform.

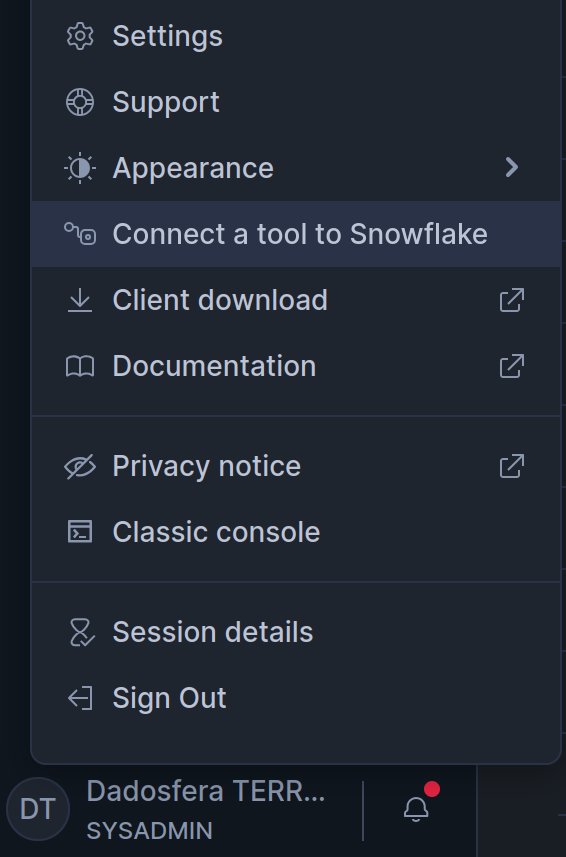
- Click your user in the lower-left corner and select
Connect a tool to Snowflake.
- Use the
Account locatorvalue to build theServerfield requested by Power BI Desktop.
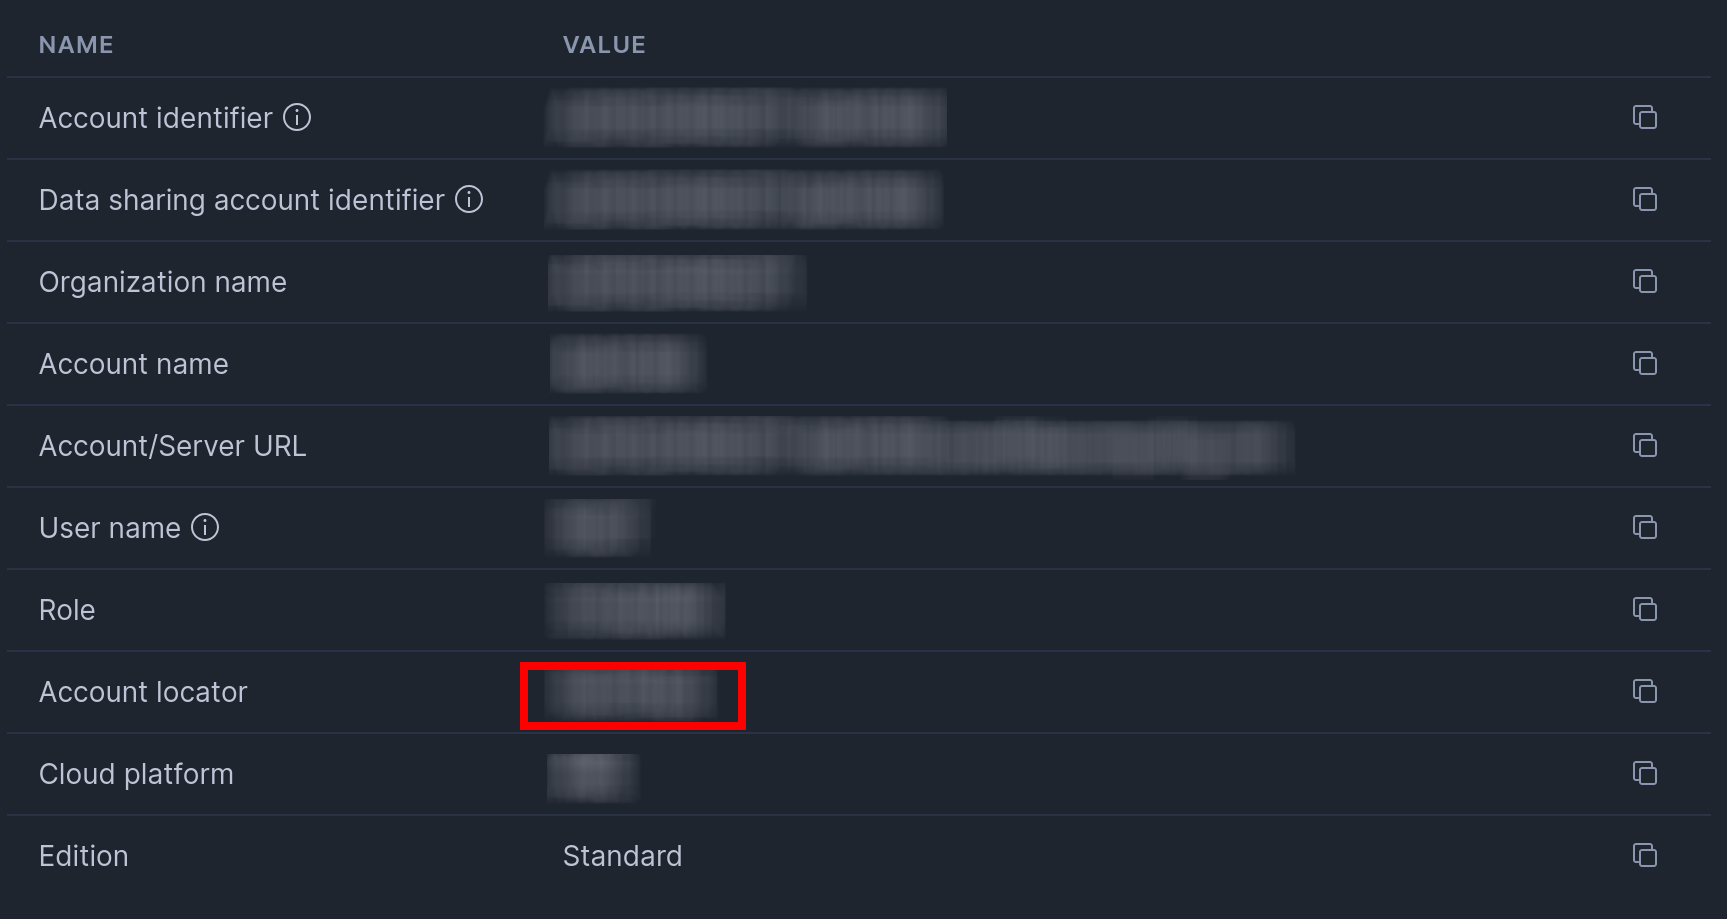
- To fill the Server field in Power BI, take the value shown in Account locator and add
.us-east-1.snowflakecomputing.com.
Example: myaccount.us-east-1.snowflakecomputing.com
- To identify the warehouse, run the following query in a Snowflake worksheet:
SELECT CURRENT_WAREHOUSE();
- In the Warehouse field in Power BI, enter the value returned by the SQL query above.
Example: COMPUTE_WH
Identify your username and password
- To identify your username, open
Connect a tool to Snowflakeagain and copy the value shown in theUser namefield.
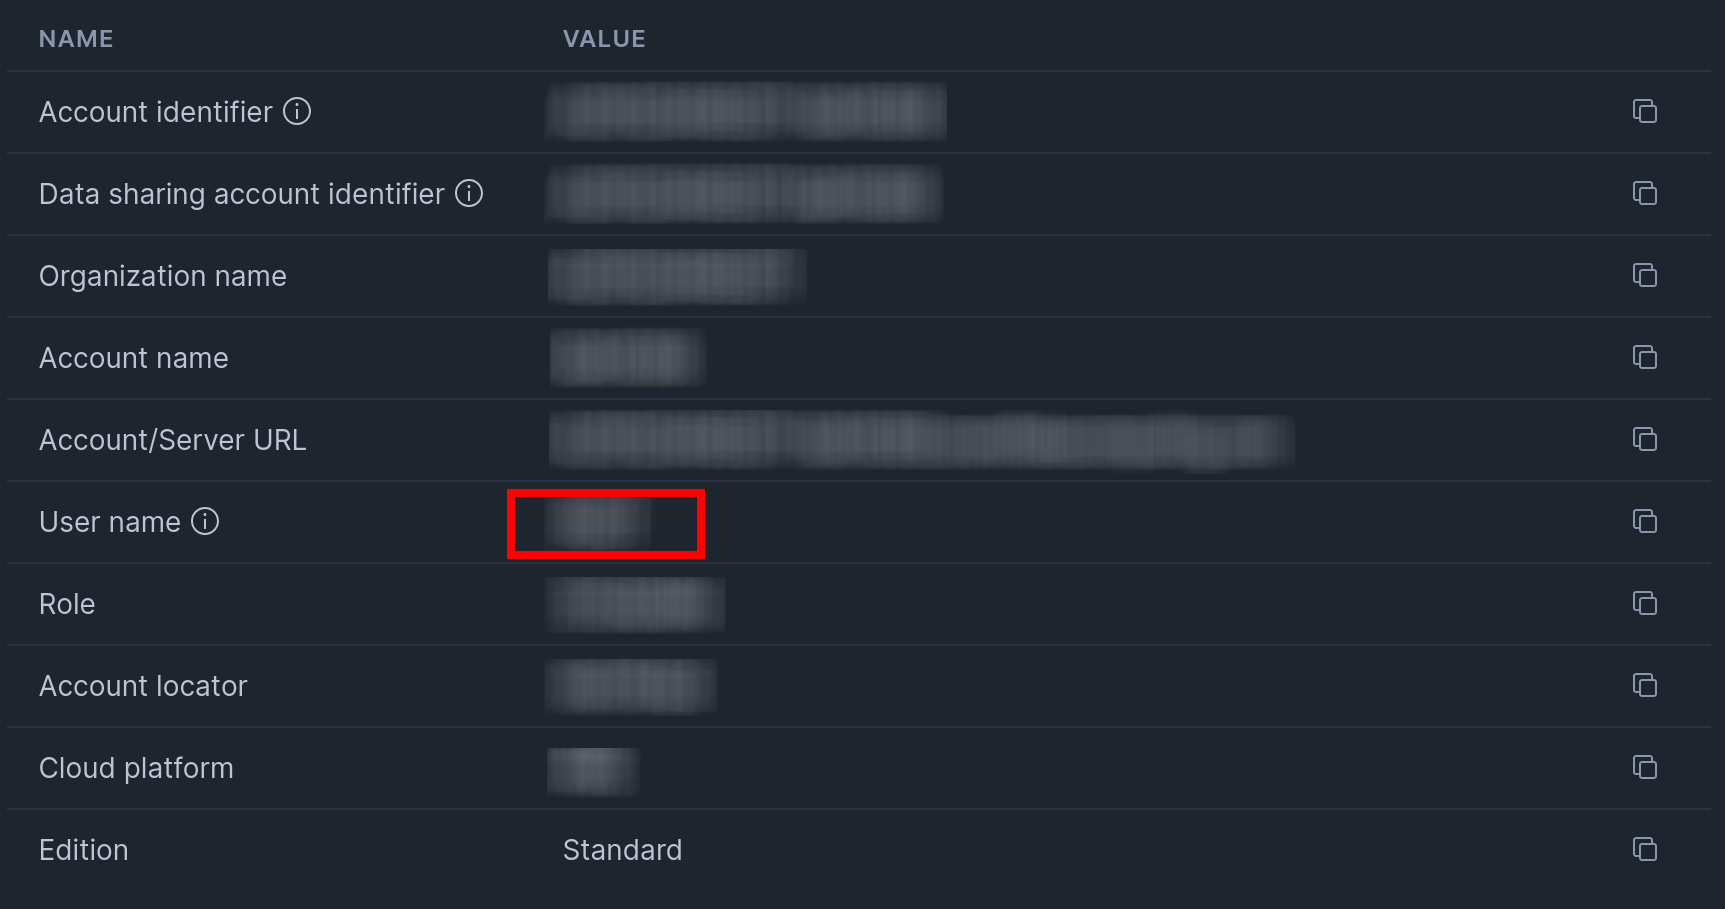
- Your password is the same one you use to sign in to Dadosfera.
- Click
Connectin Power BI.