Installing VS Code in Your Project Environment
Although Dadosfera already provides a default VS Code image ready to use, you may need to run it inside a custom environment with your own Step and Data App dependencies.
Below you will find the step-by-step process to use the template provided by our team and run VS Code inside the Intelligence module with your own custom environment.
Prerequisites
- Have a Dadosfera user account.
- Have access to the Intelligence module.
- Have a project created in the Intelligence module.
Preparing the environment for VS Code
- In the
ENVIRONMENTStab, select a base image and name your environment as you prefer. In this tutorial, we use the sample Python base image:
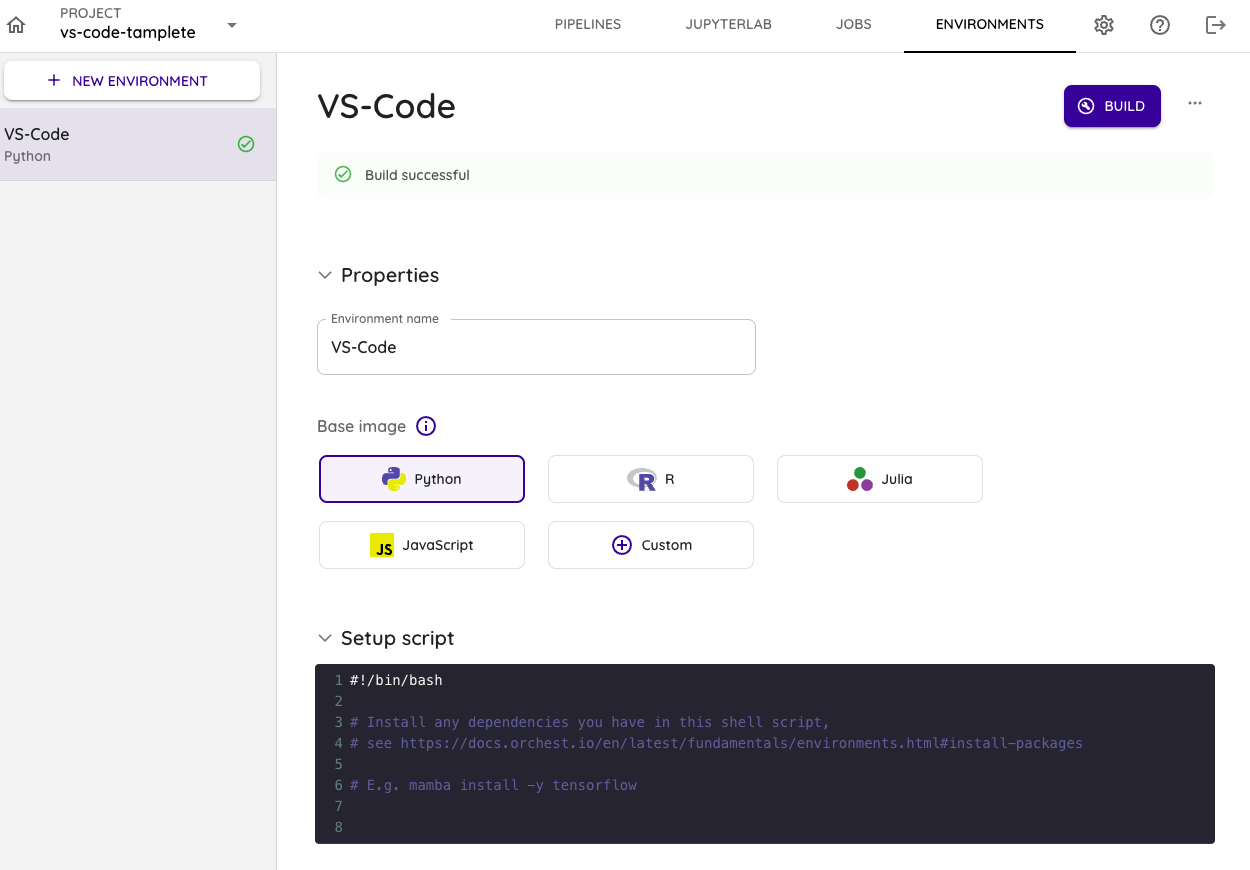
- In the
Setup scriptfield, paste the following code:
#!/bin/bash

sudo apt-get update
sudo apt-get install curl -y

curl -fsSL https://code-server.dev/install.sh | sh -s --
pip3 install pandas # install your dependencies
These are the minimum requirements to run VS Code. If your project needs any additional dependencies, add them to this script.
- Click the build button to build the environment. The button is located in the upper-right corner of the interface.
- To confirm that the build finished successfully, you should see a result similar to the one below:
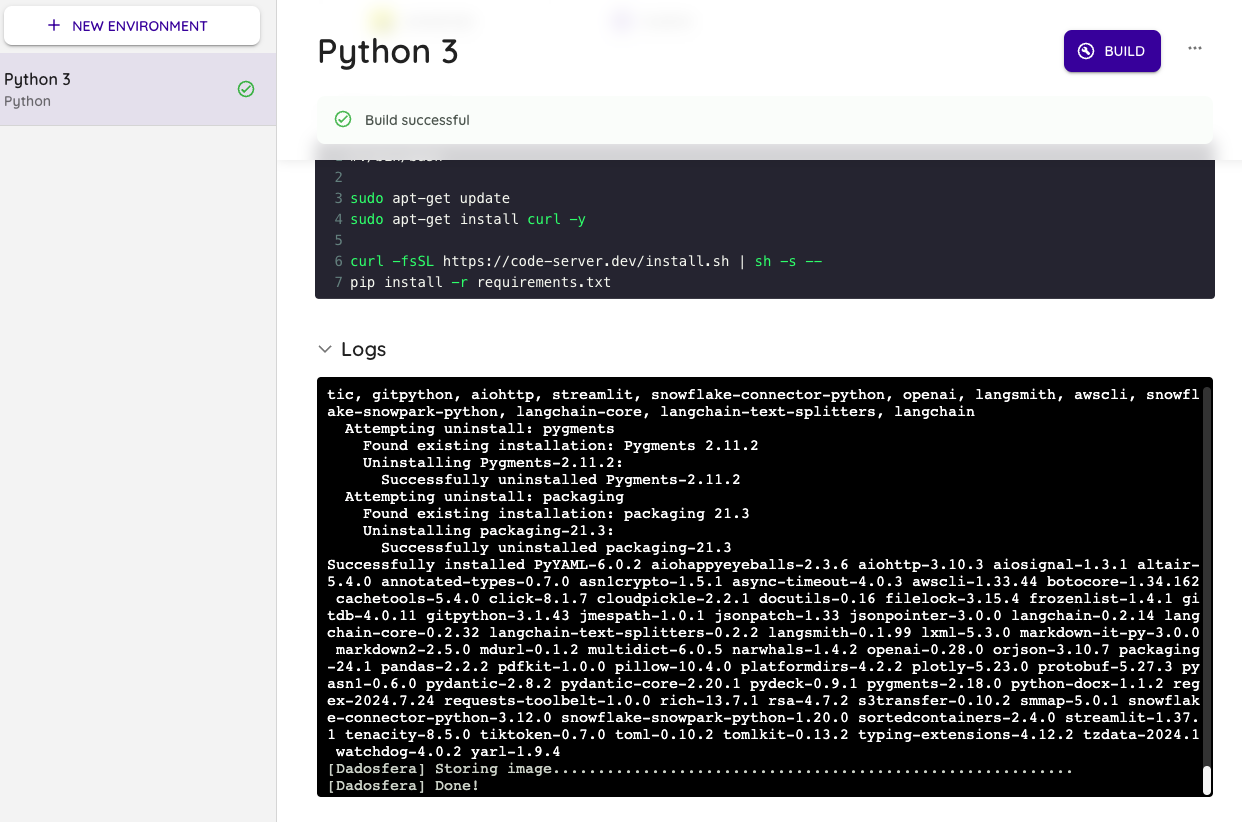
- After that, the environment is ready to run VS Code.
Creating a service for the project: Data Apps -> Edit Data Apps
- Click
DATA APPS.
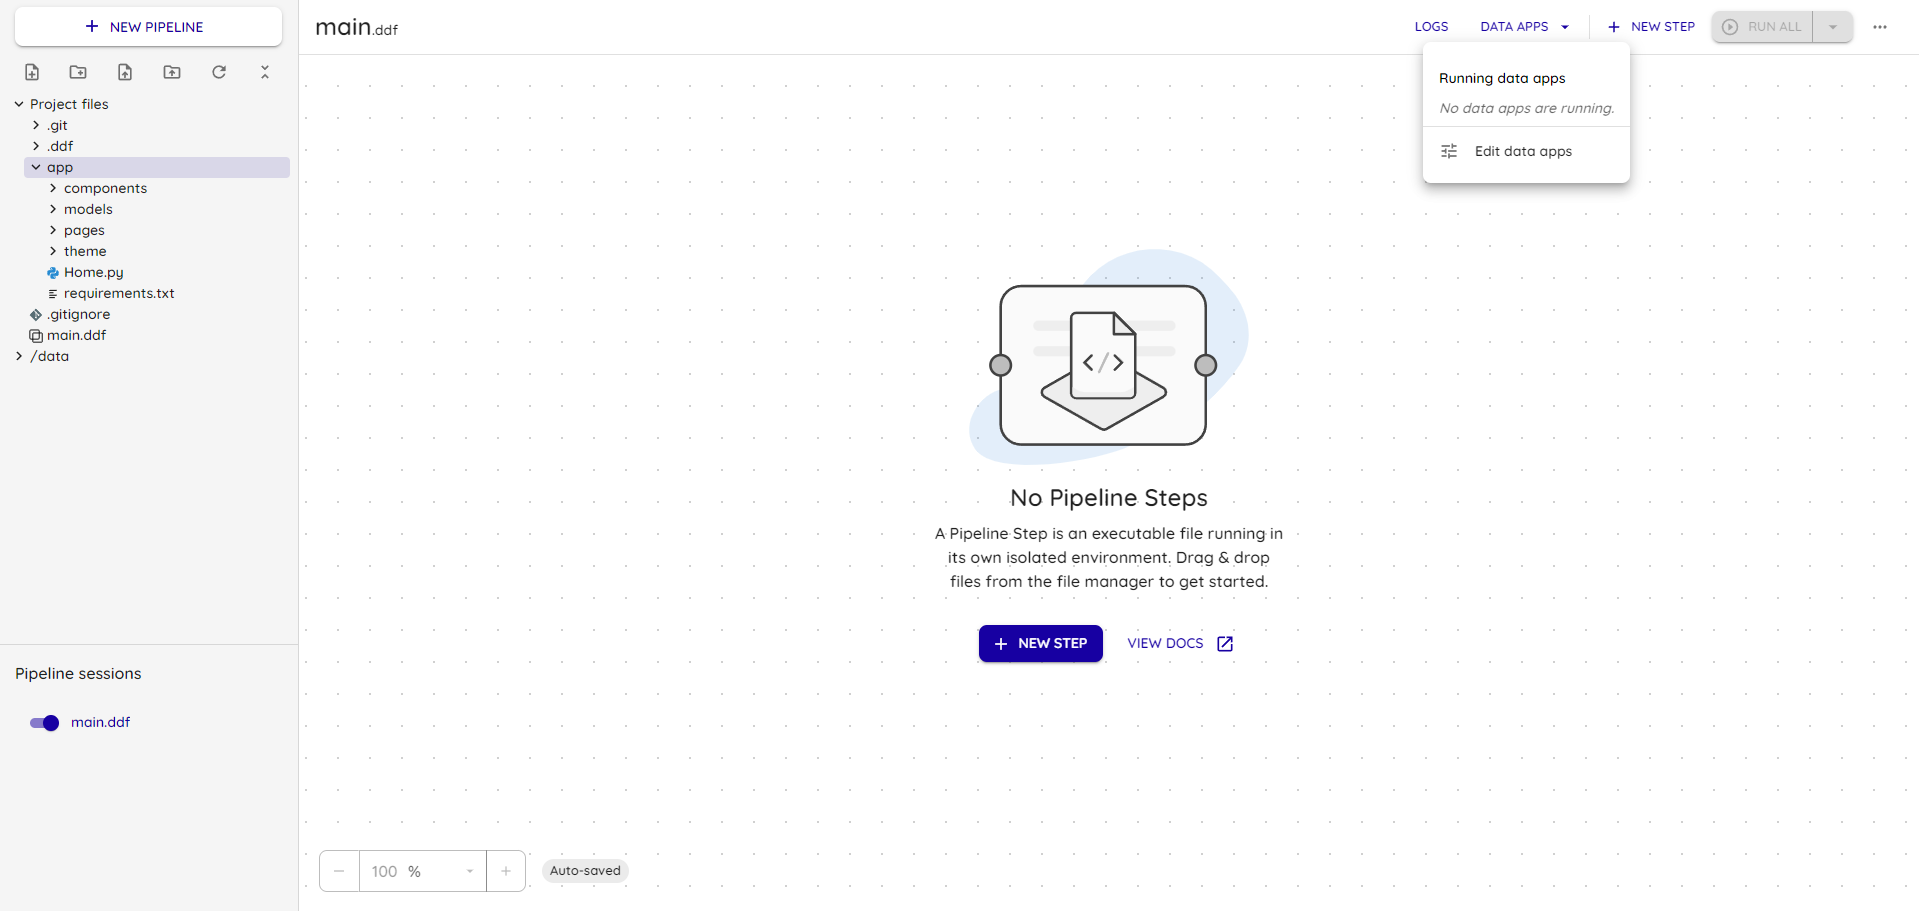
- Add a new VS Code service in
Add Service.
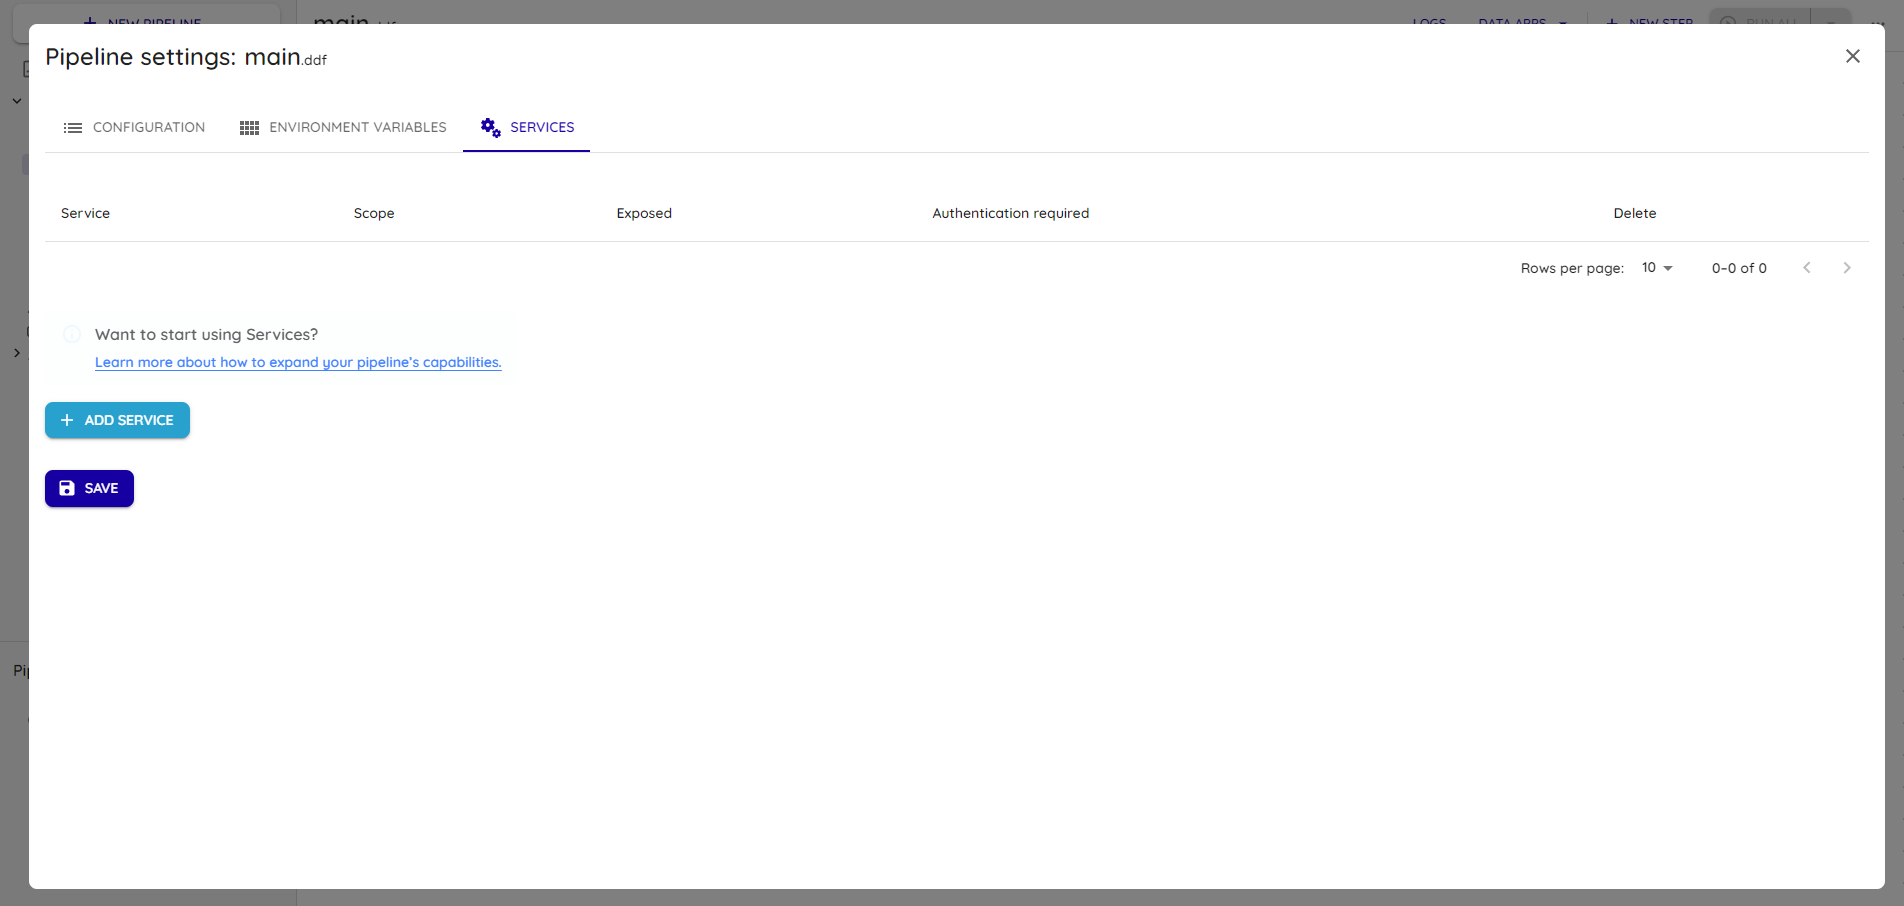
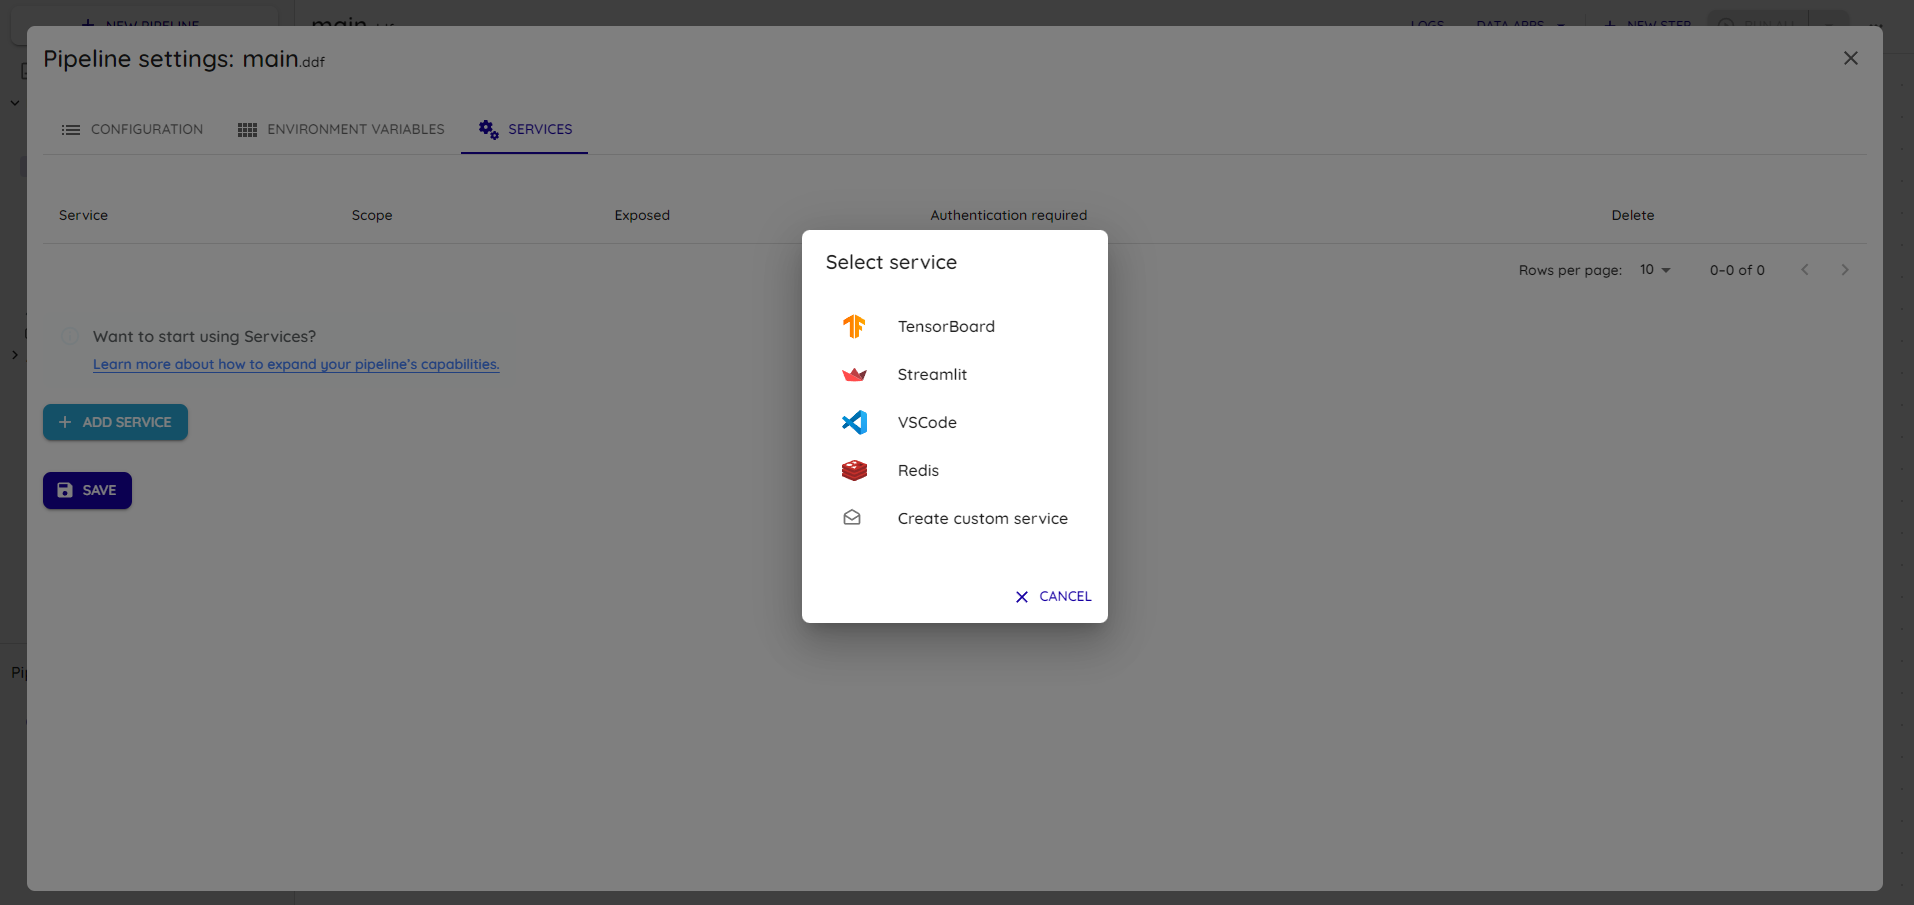
- Select Create Custom Service and expand the newly created row named
VSCode.
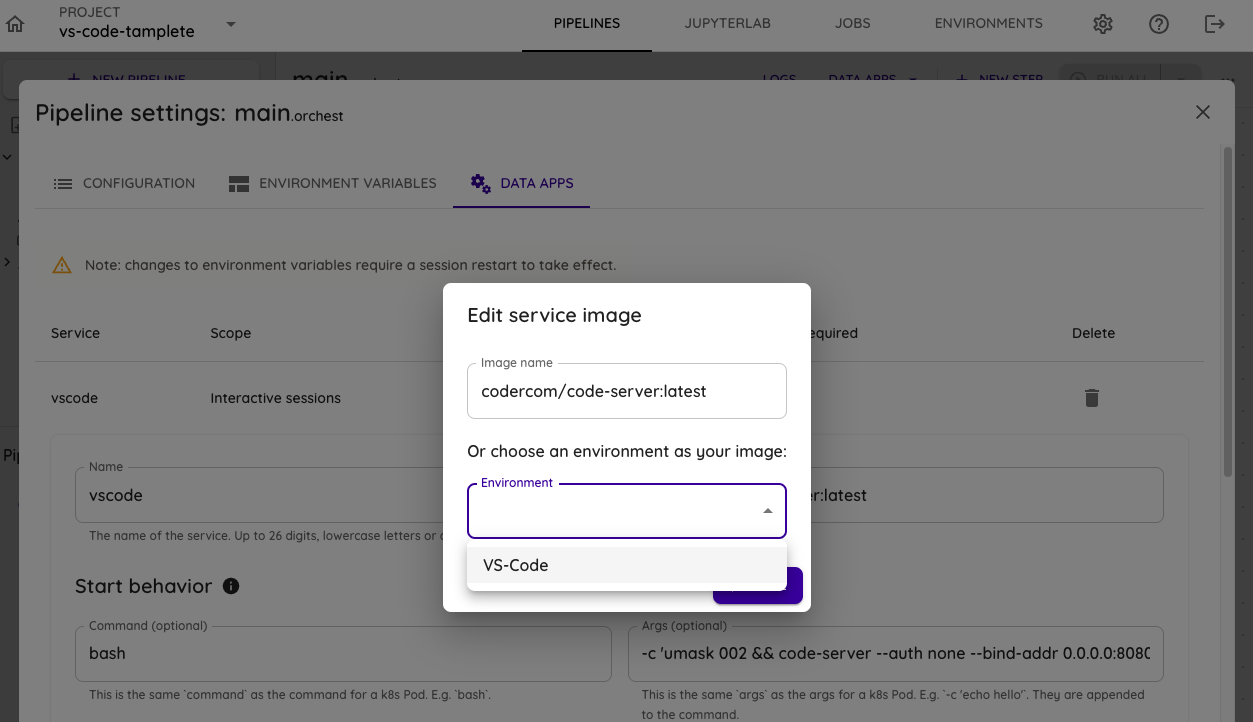
- In the Image field, select the image built in the previous steps.
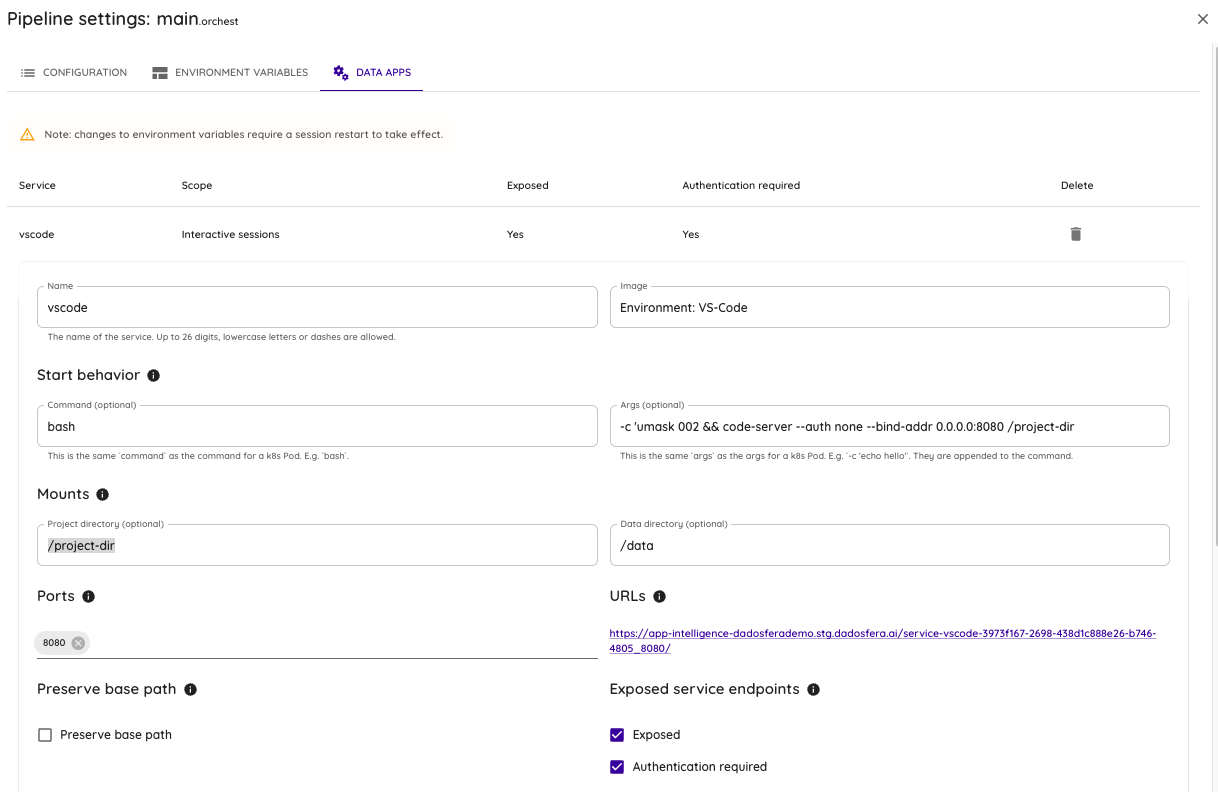
- Configure the service with the following values:
- Command:
bash - Args:
-c 'umask 002 && code-server --auth none --bind-addr 0.0.0.0:8080 /project-dir' - Project directory:
/project-dir - Data directory:
/data - Port:
8080 - Exposed:
True(enabled)
- Save the changes.
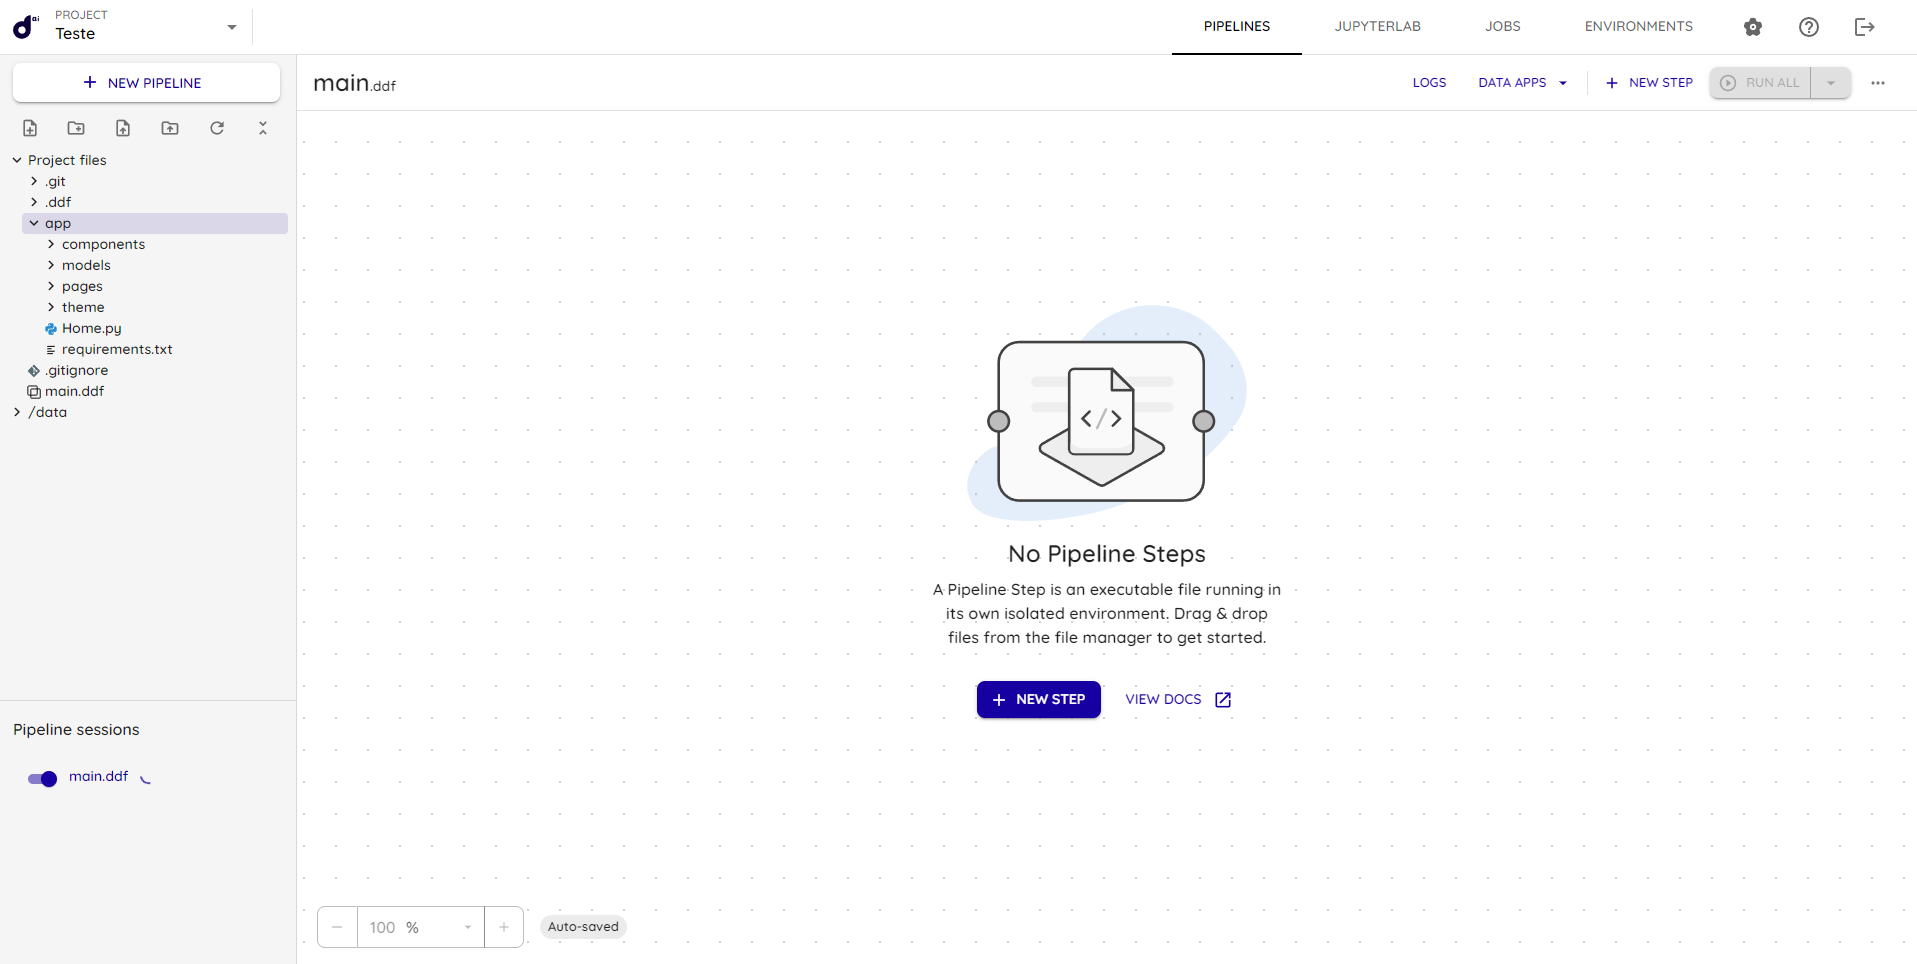
- Go back to the pipeline page and restart the session. You can find it in the lower-left corner under pipeline sessions (
main.ddf):
Accessing the service
- In the
DATA APPStab, select the VS Code service you just configured.

- You will be redirected to the access link for VS Code running with the same environment configured previously.
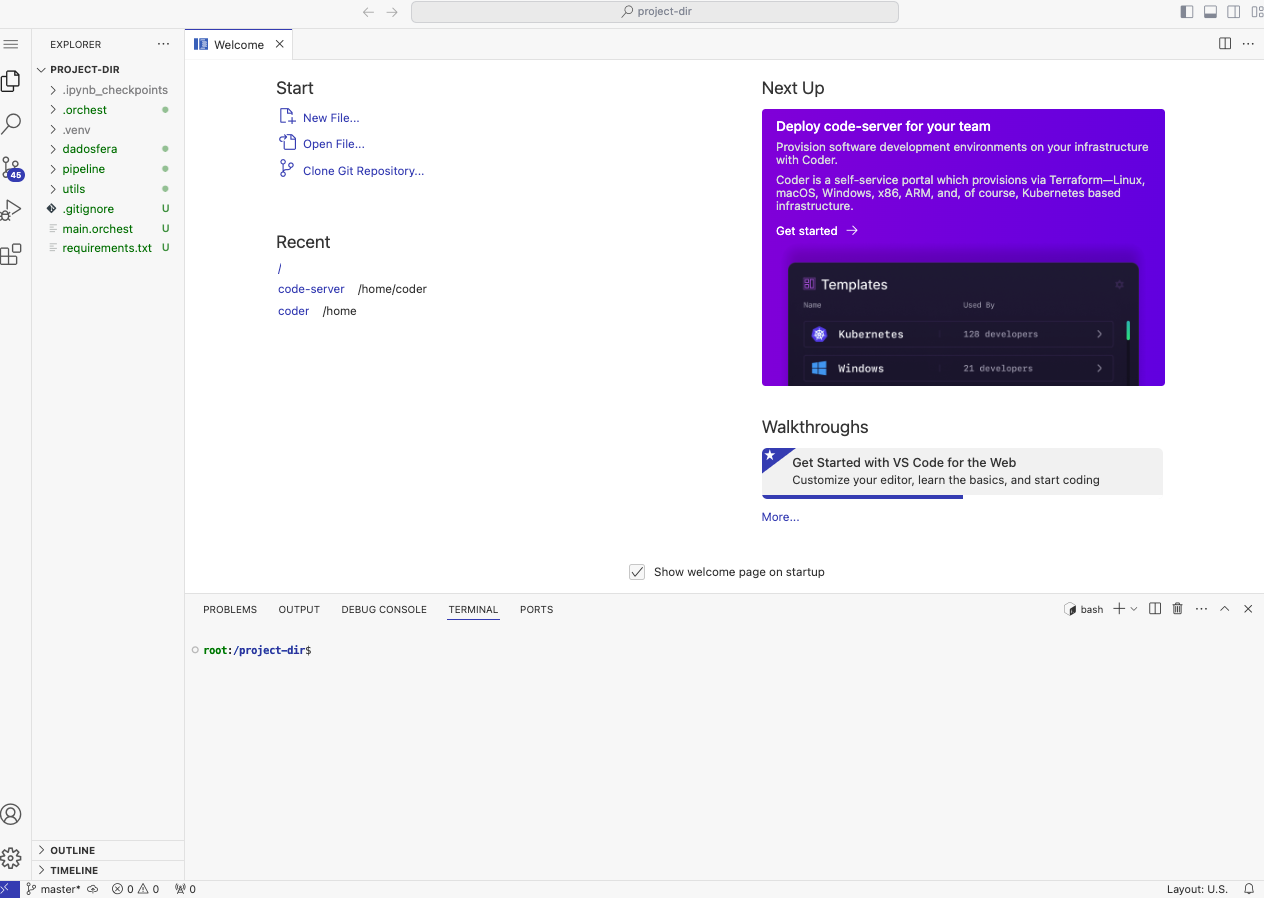
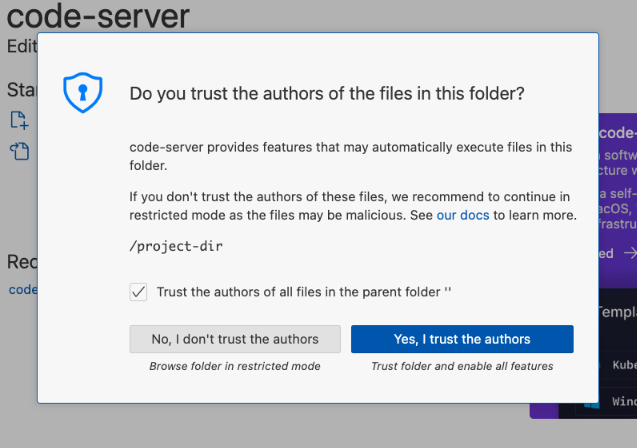
Remember to enable the Trust Authors setting when VS Code opens for the first time:
Installing extensions in this environment
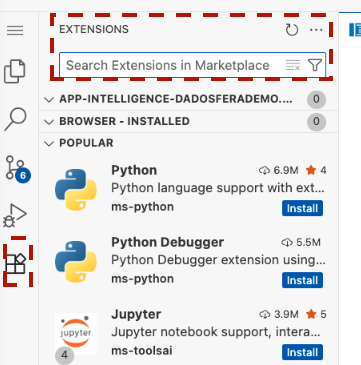
Inside this VS Code instance, you can install any extension you normally use. Open the Extensions area, choose the extension you want, and install it: